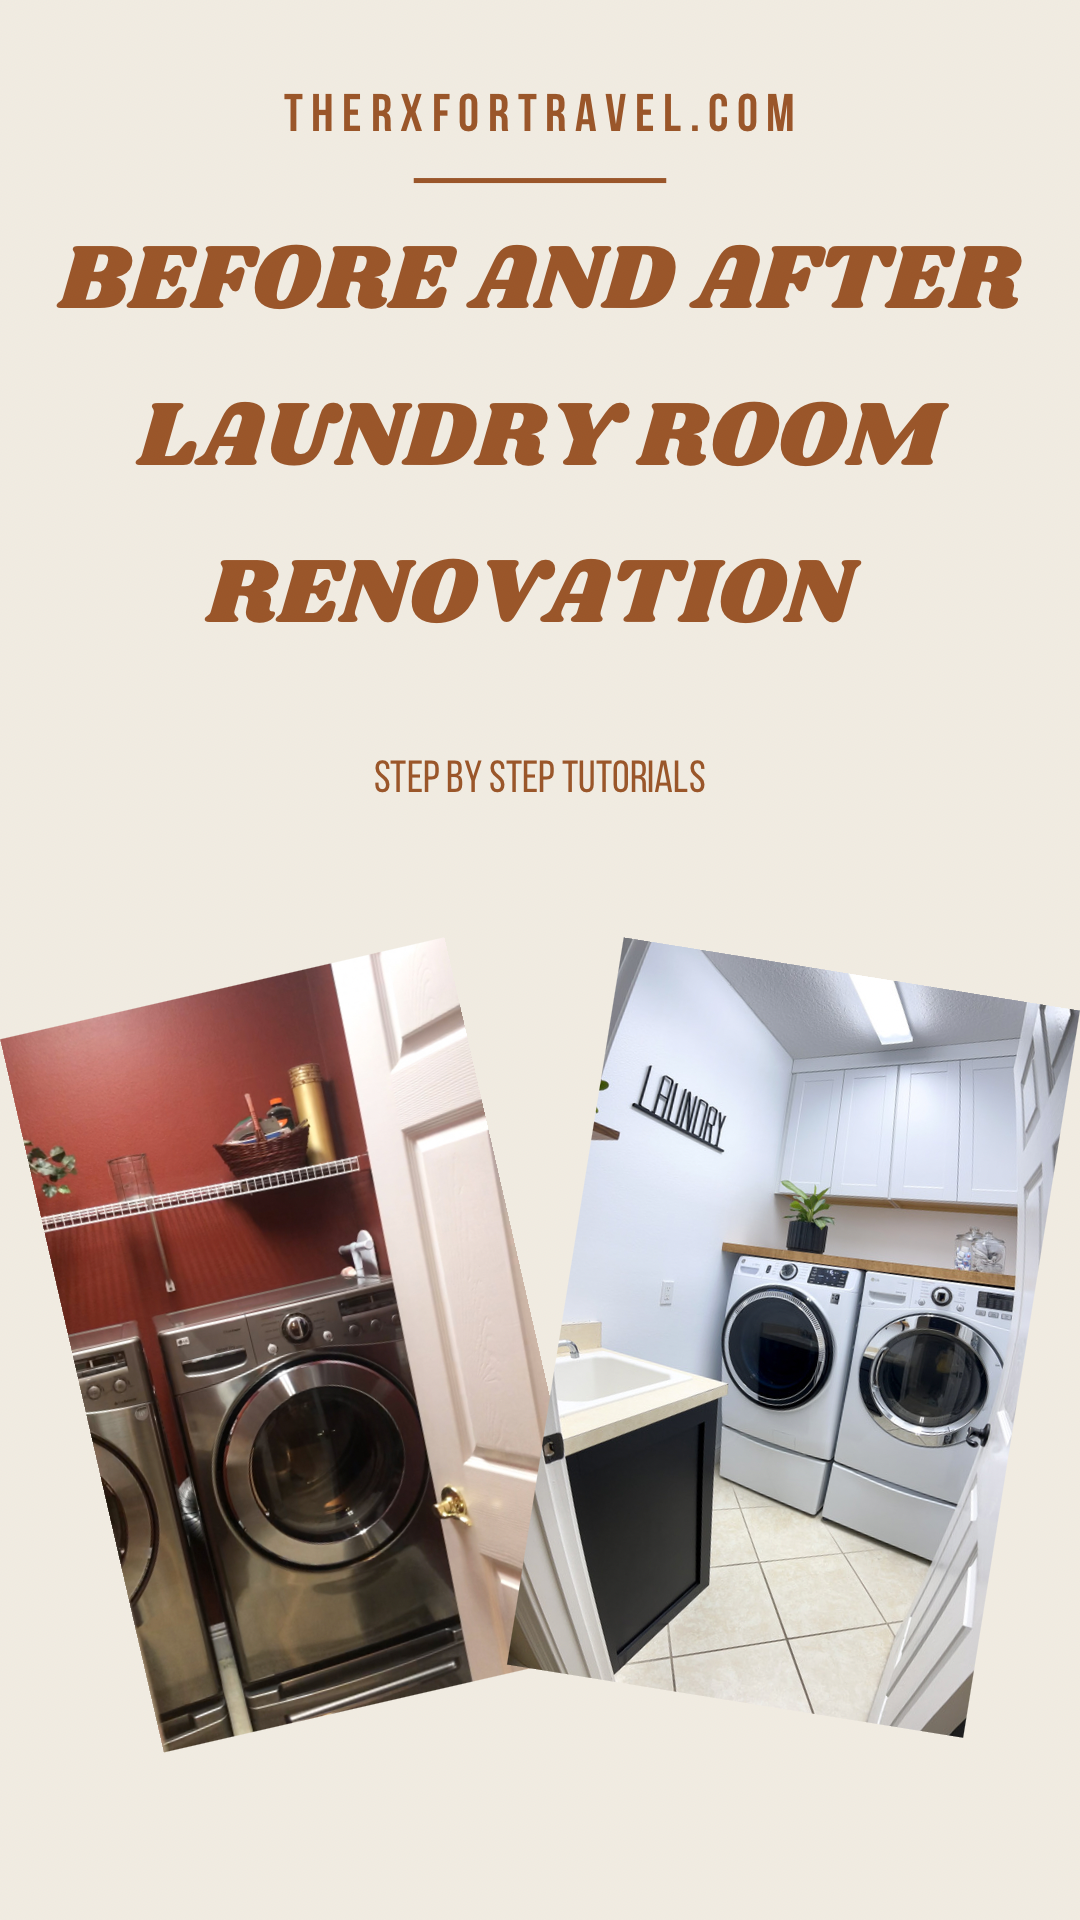
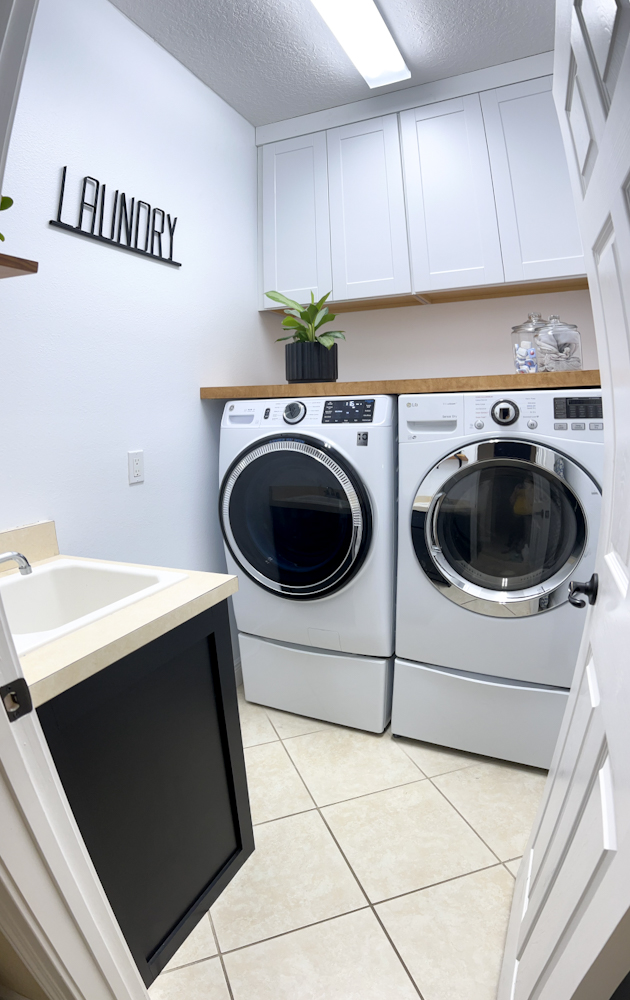
Here are all the details on how we made over the laundry room. And I truly mean ALL the details. Let this guide help you DIY your laundry room and keep you on budget for a modern industrial design.
Disclaimer: There are some links in this article that are affiliate links, which means that if you purchase through them, we receive a small commission. This is never an extra cost to you. Thanks for your support.
DIY Laundry Room Makeover
As I mentioned in my home blog post when we first purchased this house, I knew I wanted to update it to reflect our taste and style which is a more modern industrial design. After doing this DIY laundry room makeover that started from when we moved into the property in May, it has been a labor of love and learning. As my husband and I worked through each design aspect, we learned what we can and cannot accomplish in this space. I hope that our DIY successes and DIY failures help you in your home DIY journey.
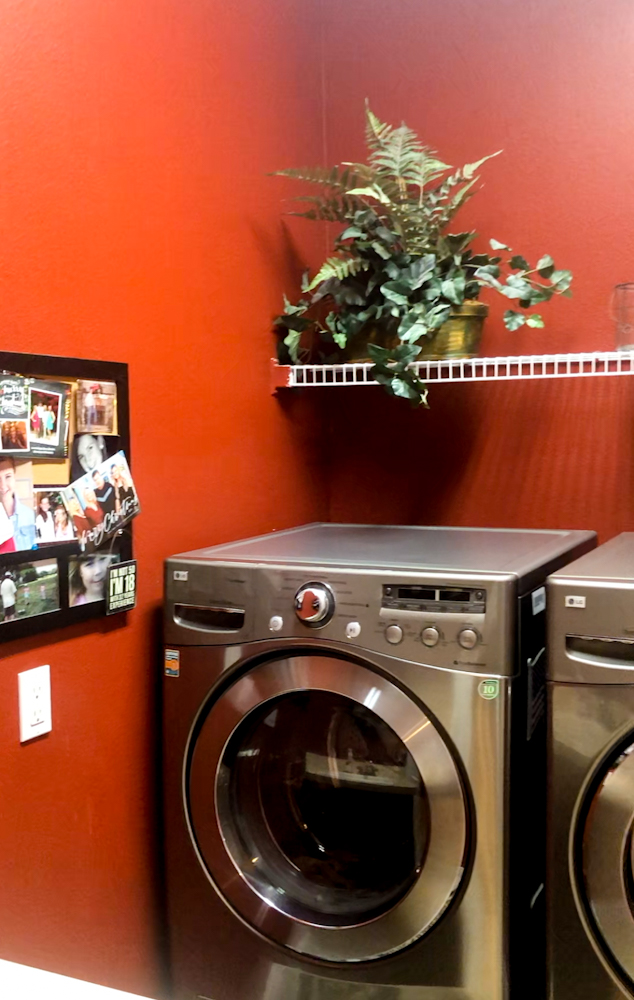
We are 5 months into renovating literally the smallest room in the house and we are still not done yet. To be fair, we are both working and taking care of small children too. We have very few days off without kids to work on the projects. Given the current shortage of certain construction supplies, we hit some stalls with ordering and then waiting for them to arrive. Or in some of the cases DIY failed and then had to rethink the project and start again.
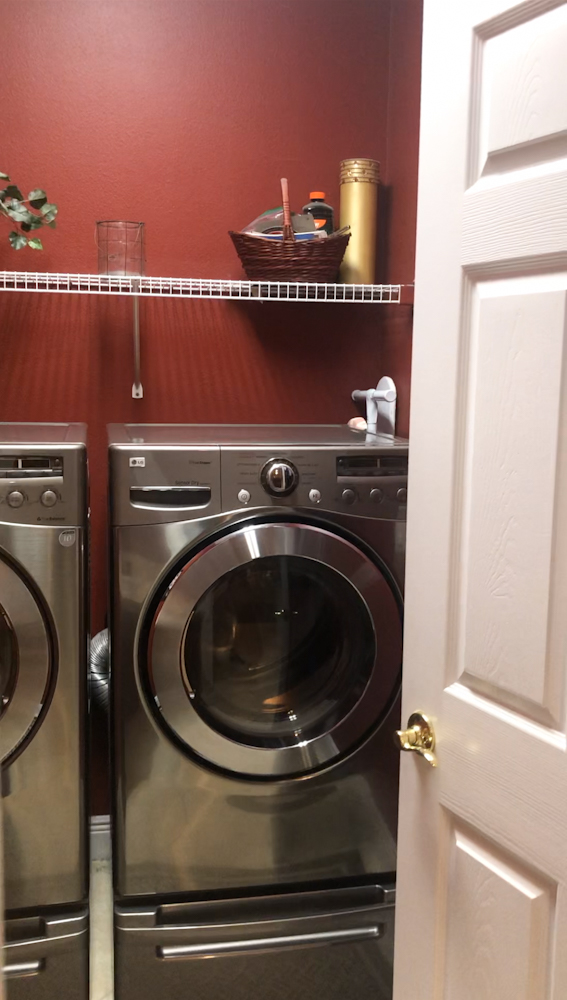
Laundry Room Makeover (Future Projects)
At this point, the laundry room is overall done with the following exceptions. Firstly, flooring, this will be updated once we are ready to redo the flooring for the entire main floor. Our main floor is all one large space and so it’s better to order flooring all at once to ensure continuity.
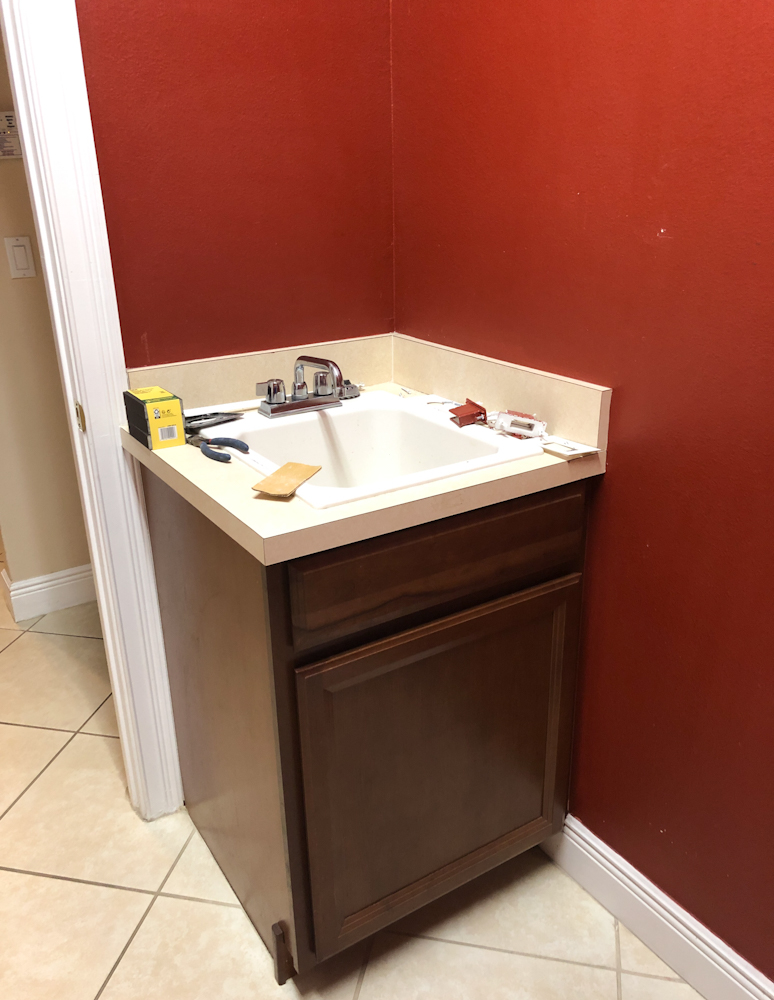
Secondly, is the countertop for the sink. We decided to wait on this until we redo the kitchen then use any excess countertop for the laundry room sink. After my DIY concrete countertop fail, we looked into purchasing a cut of remnant countertop at some local granite and stone yards, but this was not cost effective. We also though of purchasing an entirely new sink, countertop, and cabinet piece from our local Home Depot. While they did have some nice ones like this one, we already had updated the cabinet and so didn’t want to throw away all our hard work. Or another idea is to purchase a large sink that covers the area with no countertop (since the countertop area is small already and likely not very useful). Leave your thoughts in the comments below.
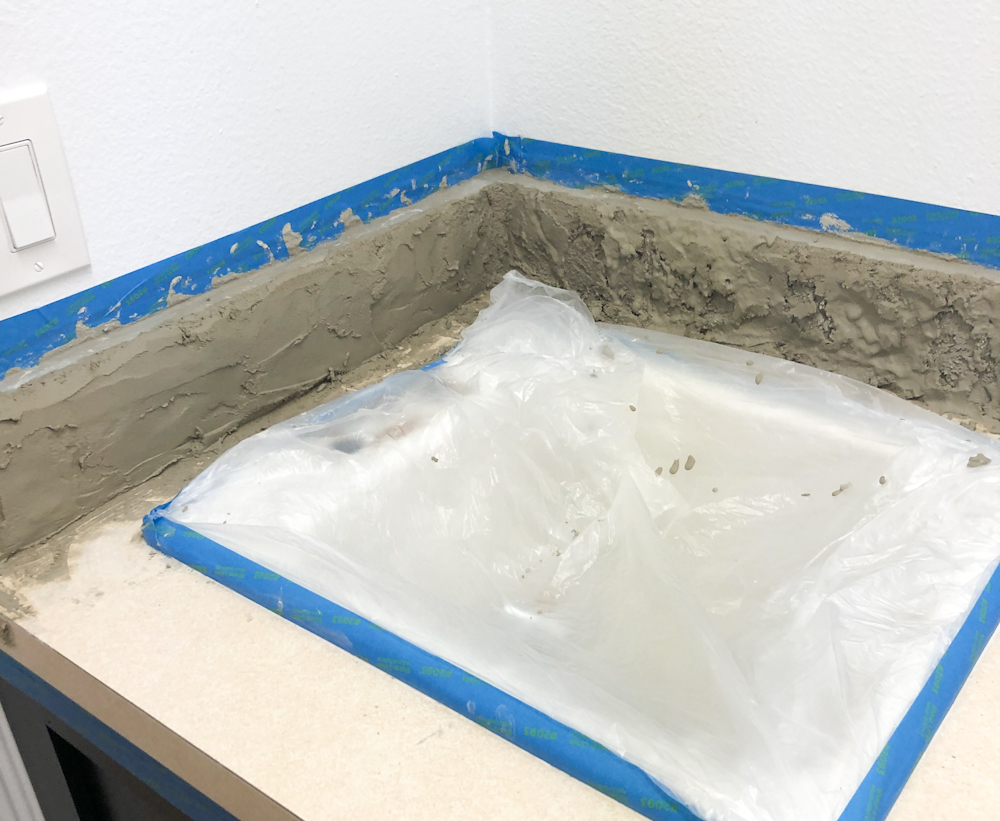
It was hard to make an even coat on a vertical surface like the backsplash.
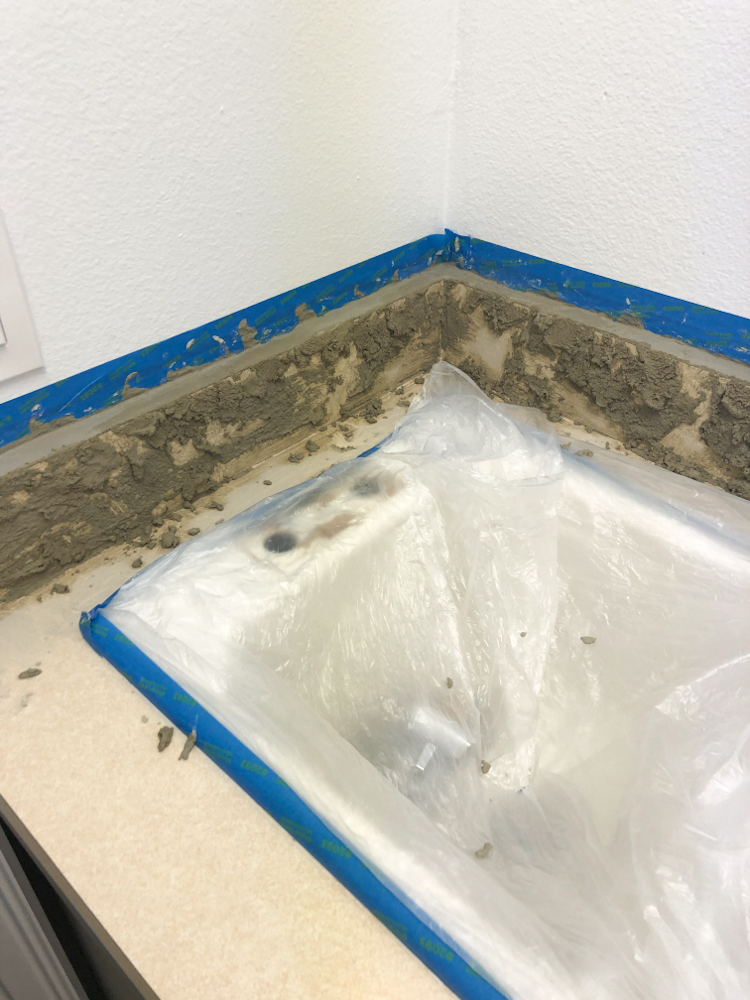
Also it chipped right off the formica type of surface, so not a long term option.
Lastly, baseboards and trim. As this is my husband’s specialty, it’s normally the first project we tackle. But, in this case the baseboards require that the new flooring is in first. And the trim has to wait for new doors which will also be fitted after the new flooring. I’ll update the post once that’s completed, but it’ll likely be a few years before we get there.
Remodeling a Room
If you are remodeling a room, then here are some basics of what you’ll need:
DIY Project 1: Laundry Room Paint
Best White Paint for Ceiling
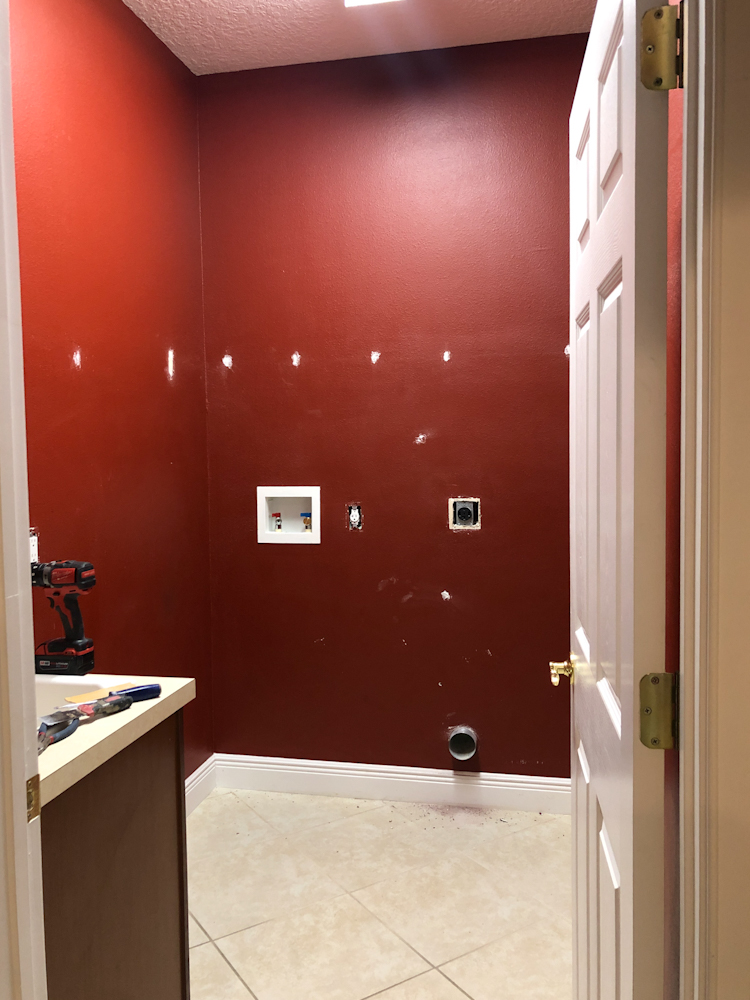
Let’s start this laundry room renovation guide with the first project to do to make life simpler. The first is always paint. It’s the messiest, so it’s best to get this out of the way first. Especially the case once you start to bring new things into the laundry room. We started with a fresh coat of paint on all our ceilings. None of our furniture was in at the time, so we didn’t ruin anything. It gave us a clean slate to work with especially since there were some ceilings and walls that were painted dark red or grey.
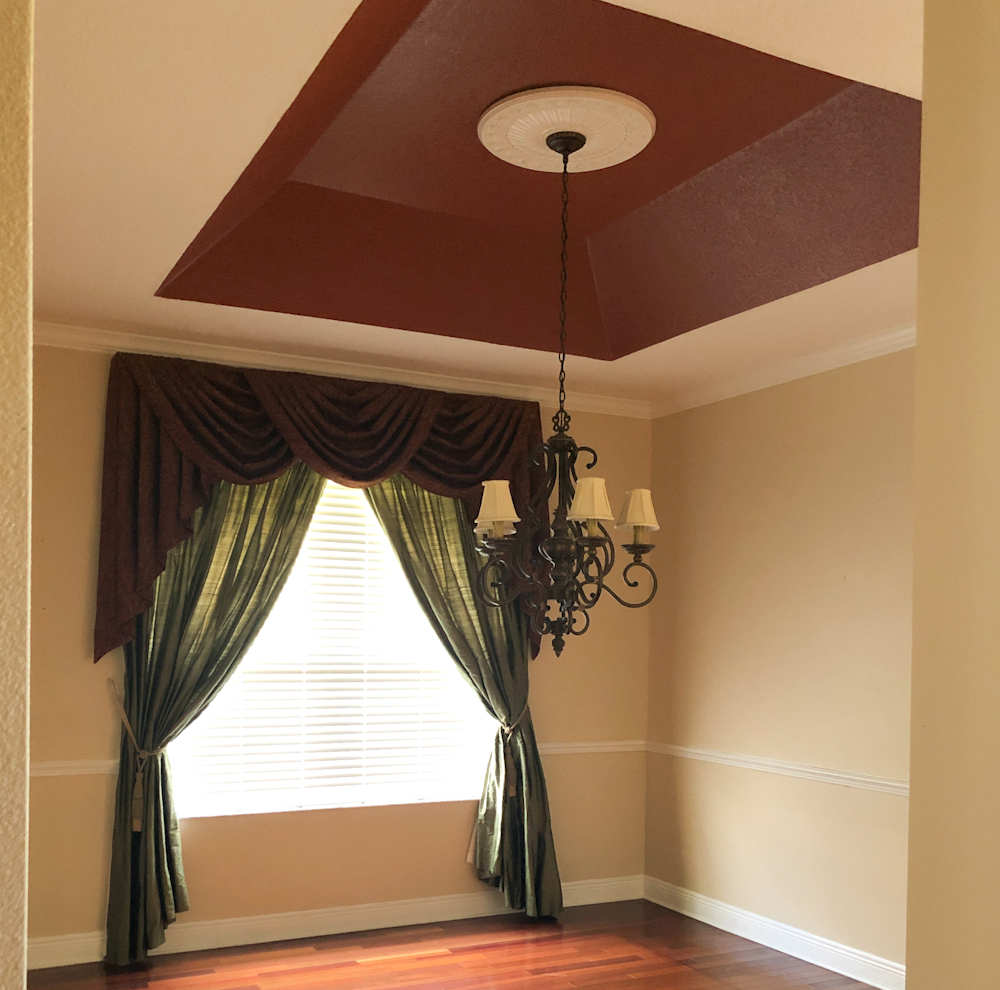
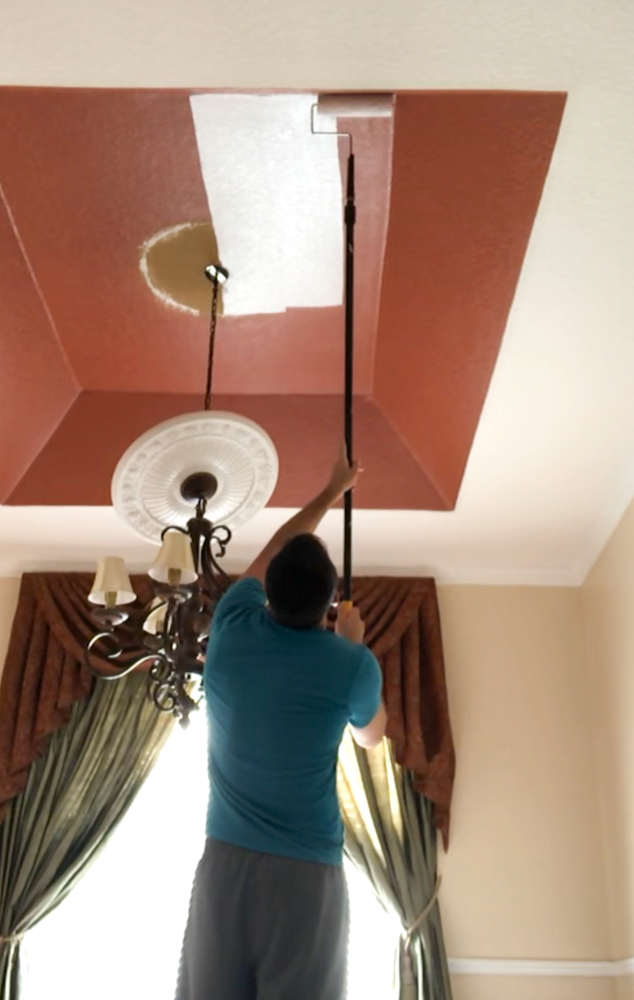
For the ceilings and walls with darker colors, we used a primer first. If they were already white, we just put a new coat of paint. The best white paint for ceiling doesn’t have to be expensive. It should always be flat in order to allow the trim and the walls to be the focal part of the room. Behr has the best white paint for ceiling and the most cost-effective.
Best Behr White Paint
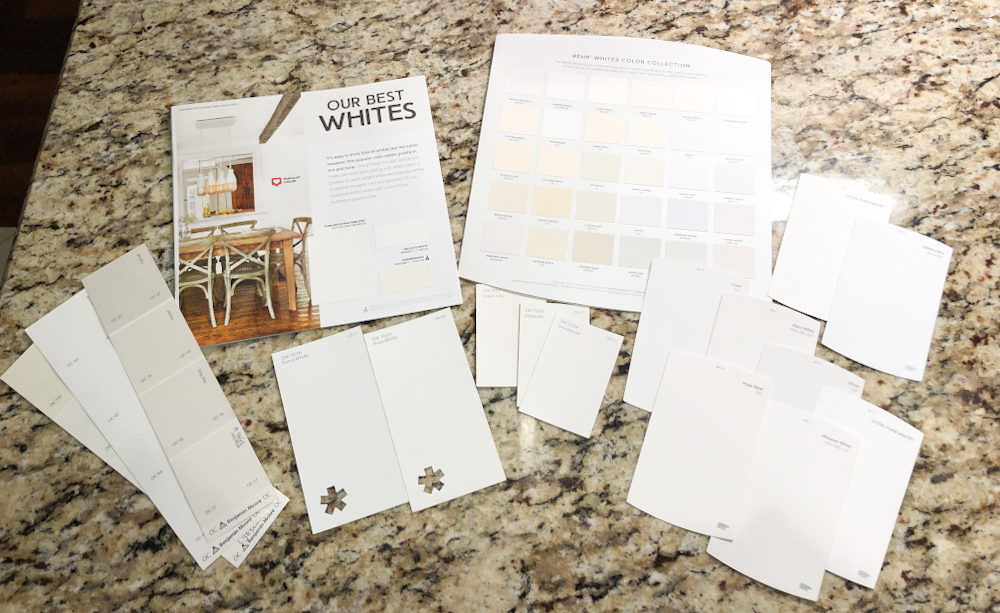
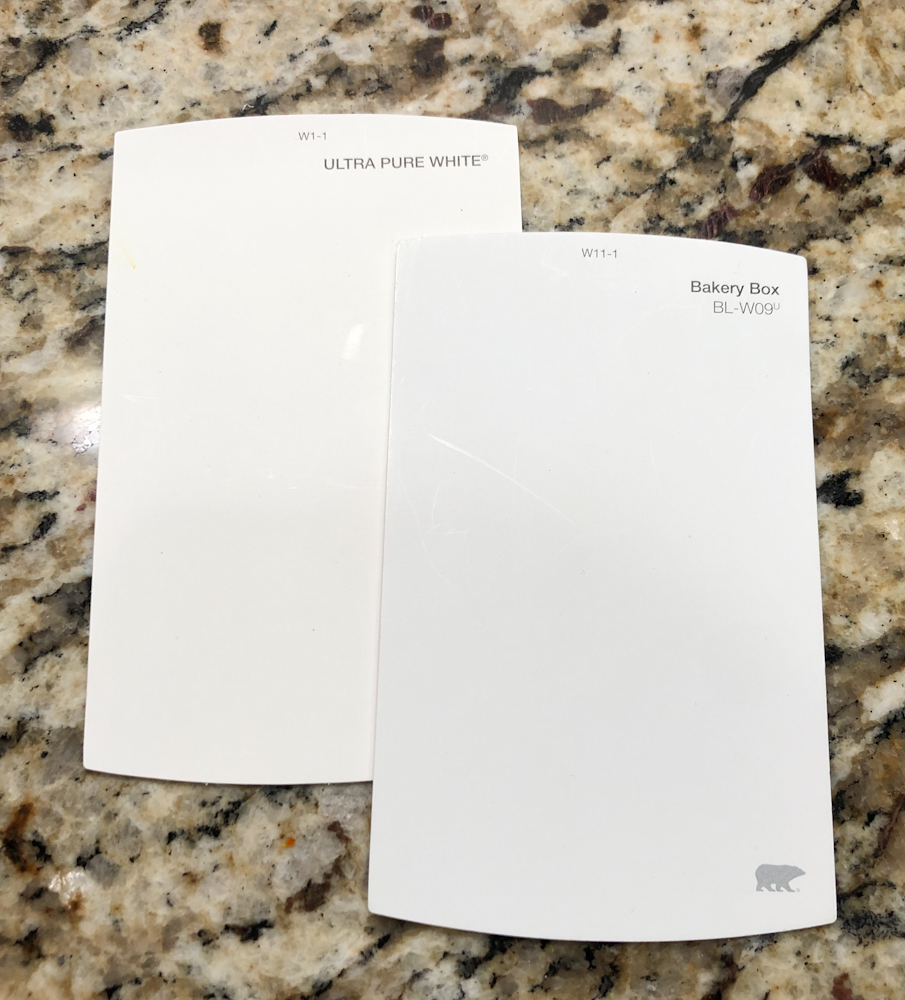
Below is a picture of all the white paint swatches I’ve taken from every paint store in town, Sherwin Williams, Benjamin Moore, Lowe’s, and Home Depot. I was pretty particular with the kind of white paint that I wanted. Is it too much to ask to just get a plain white? I scoured Pinterest and blog after blog looking for white paint recommendations. The problem for me was the undertones. There are just too many of them, blue undertones, grey undertones, brown undertones, etc. The laundry room paint that I wanted was just a plain white, but when I got the purest white paint, it was just too bold and bright.
Finally, I found it the best Behr white paint, Bakery Box!
My husband thinks I picked it because the name has to do with food. Just coincidence, I guess. The reason this is the best Behr white paint and dare I say the best plain white paint is there are ZERO undertones. I couldn’t even get a paint sample. The colors they use to tint the paint basically cancel each other out, so that’s how you know you truly are getting a genuine white paint. I also placed it next to the purest of white paints from Behr, so you can see that there is a difference in the brightness and boldness. Without a paint sample (which is a first), up it went on the walls. And it is perfect! The cabinets even match the paint perfectly. So, if you are looking for a similar paint color, then make sure to get the best Behr white paint around, Bakery Box.
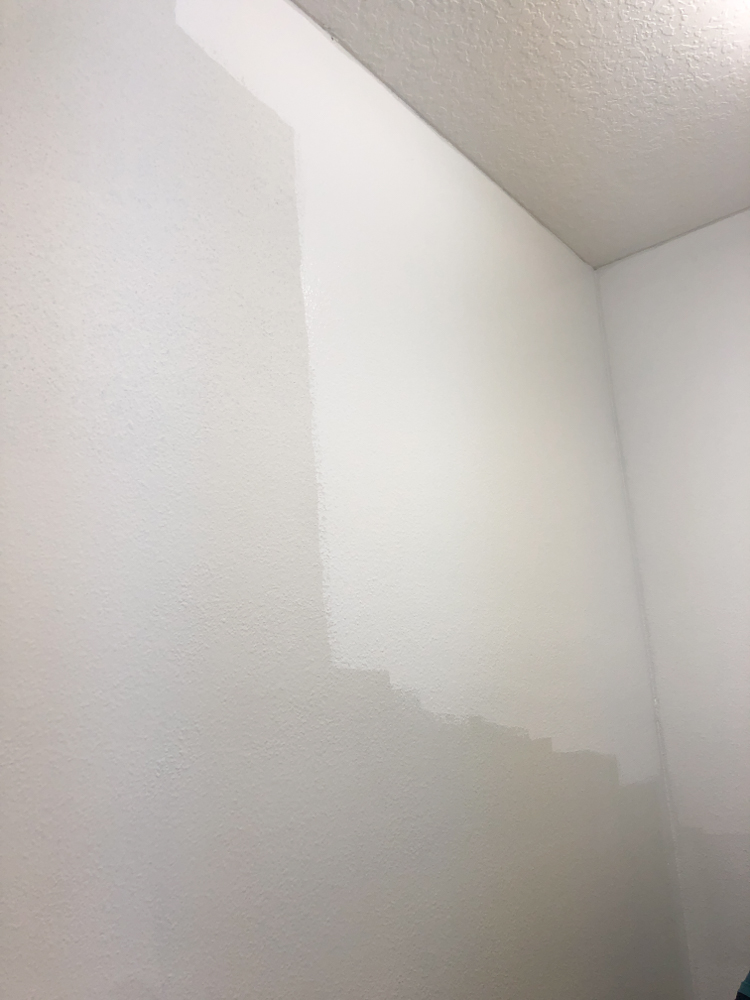
Bakery Box going over the primed layer.
Best White Paint for Trim
Trim can be any color you want, but if you are wanting it to be contrasting to an already all-white room there are a couple of things to note. The finish of trim should always be one to two finishes apart from the wall color. Typically, I’ll use satin on the walls, so the trim will be either semi-gloss or high gloss. By doing this, it gives a little more contrast, so that the trim doesn’t just become an extension of the wall, but a feature in and of itself. In our case, with the type of white I used for the walls, the only color that would make sense in this room is the whitest white or brightest white of the brand. For Behr that color is Ultra-Pure White. If you are looking for the best white paint for trim, then keep the above details in mind.
DIY Project 2: Laundry Room Cabinets
Figuring out how we were going to do the laundry room cabinets above the washer and dryer had us stumped for a bit. Do we make them ourselves or buy them? Do we put them to the ceiling or lower? If we buy them, where do we get them from? Do we buy them white or untreated then paint it ourselves? In the end, we had to weigh out not only cost effectiveness but our time too. DIY'ing laundry room cabinets can take up quite a bit of time and if you are purchasing all the tools and supplies from scratch, then it can sometimes actually be more expensive. In this case, it was cheaper and required less time to purchase the laundry room cabinets rather than make them ourselves. We went with these assembled cabinets from Home Depot.
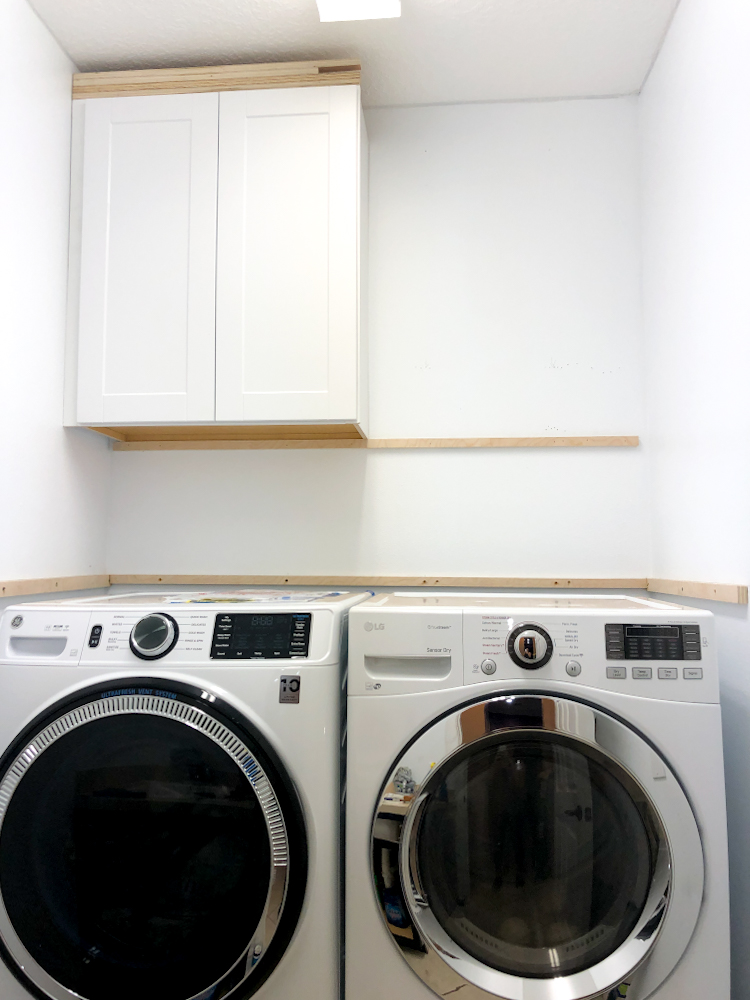
Once they arrived, we assembled the last little bit that remained. We put a wood piece across the wall (leftover from the countertop) to sit the cabinets on when we screwed them into the wall. Once the cabinets were installed, we removed it and patched the holes. For the size of our space, we purchased two same sized cabinets, which left us with extra space to fill. You can leave that extra space any place you choose on the left, or the right, or the middle, or distributed evenly on both sides which is what we chose to do. We used the leftover wood pieces from the other laundry room projects, painted it the finished color (which was Bakery Box) then attached it to the sides of the cabinets before they got hung on the wall. You can do this yourself or you can purchase this filler piece.
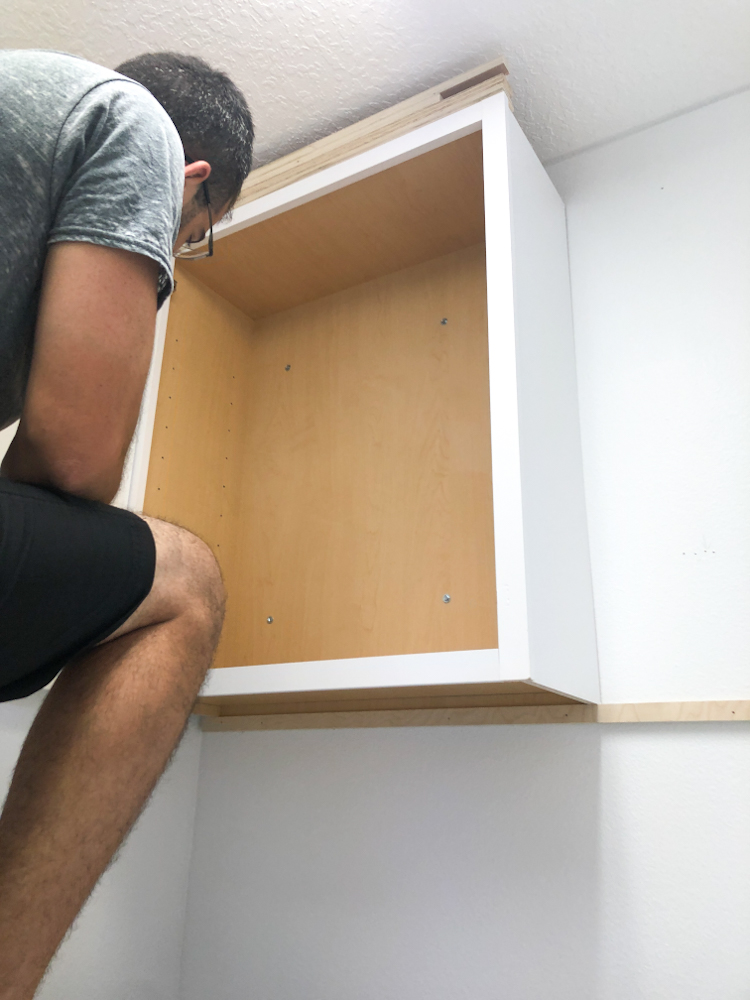
Since we plan on putting trim along the ceiling eventually, we planned for that with the cabinets. You can see we added some of the ripped wood from the countertops and made a faux trim and attached it to the cabinets before installation. It will make installing trim later, so much easier.
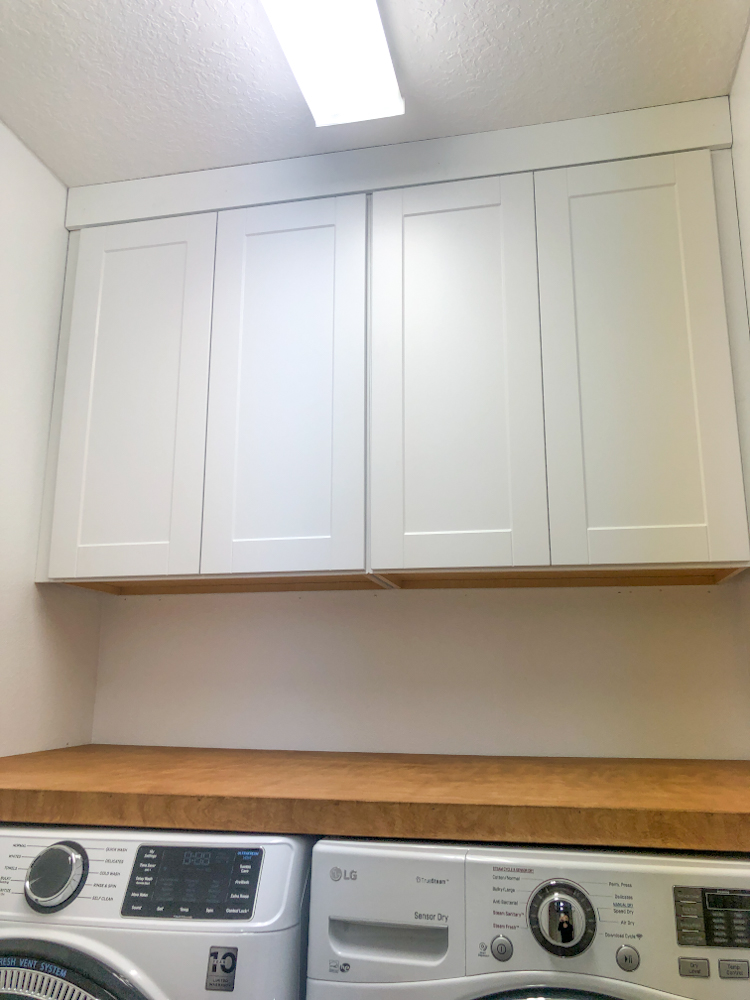
Shaker Style Cabinets
What you need:
- Large Size Plywood
- Smaller Size Plywood Pieces
- Primer
- Paint (Color: Limousine Leather)
- Nail Gun
- Air Compressor
- Paint Supplies (roller frame, paint tray, tray liners, roller covers)
- Miter Saw
As we tackled this laundry room renovation, we really tried to keep cost in the forefront of our mind. We had a sink cabinet in good condition, so why not just work with what we already have in place. With that in mind, we decided to get the cabinets refaced rather than replace it. On the side, we decided to go with a shaker style cabinet look. As this is the overall goal for the kitchen too. We were able to achieve this by adding a plywood piece to the side of the cabinet then adding wood trim around it. To make it easier on myself, I did all the priming and painting before nailing this in. Once nailed in, I just fixed the nail gun holes.
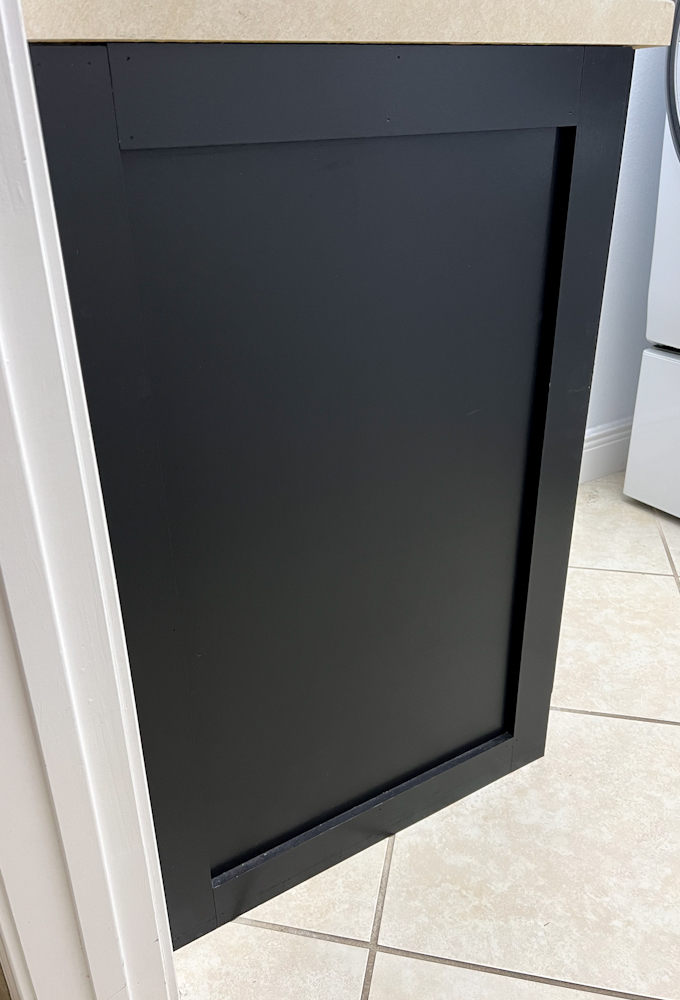
How to Make a Shaker Cabinet Door
Or Get The Cabinets Refaced
What you need:
- Large Size Plywood
- Smaller Size Plywood Pieces
- Table Saw
- Miter Saw
- Primer
- Paint
- Kreg Jig System
- Kreg Jig for Hinge
- Kreg Jig Screws
- Paint Sprayer
- Wood Filler
For the front of the cabinet, there is a faux drawer face. We removed this completely from the cabinet and replaced it with a plain piece of wood painted to match. Rather than trying to make a very small shaker look with this piece, we kept it simple for the look and for ourselves.
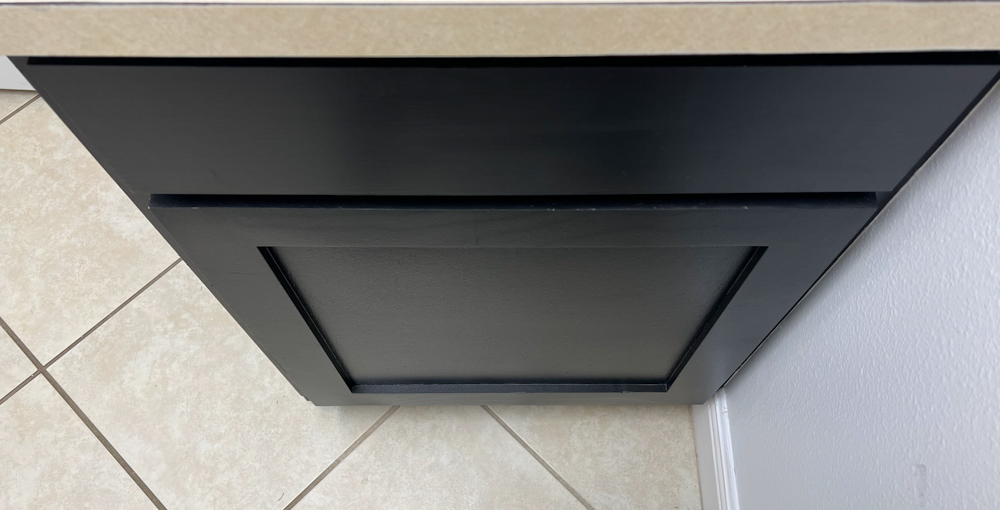
Since we were going for a shaker cabinet door, we knew we had to get rid of the door that was there. But we kept all the hardware to reuse. There are a few different ways to make shaker cabinet doors. I’ll show you the way we did them. Firstly, you cut the plywood piece for the center, the smaller pieces for the top and bottom, and then the longer pieces for the sides. Secondly, make grooves in the wood using the table saw so the plywood piece slides in. Thirdly, we used the kreg jig to screw all the pieces into place. Fourthly, we used wood filler along the seams of the wood, then sanded it lightly to be even. We used the kreg jig hinge to make the circle holes for the hardware to go back. We used these plans as a general guide then made slight adjustments as noted here.
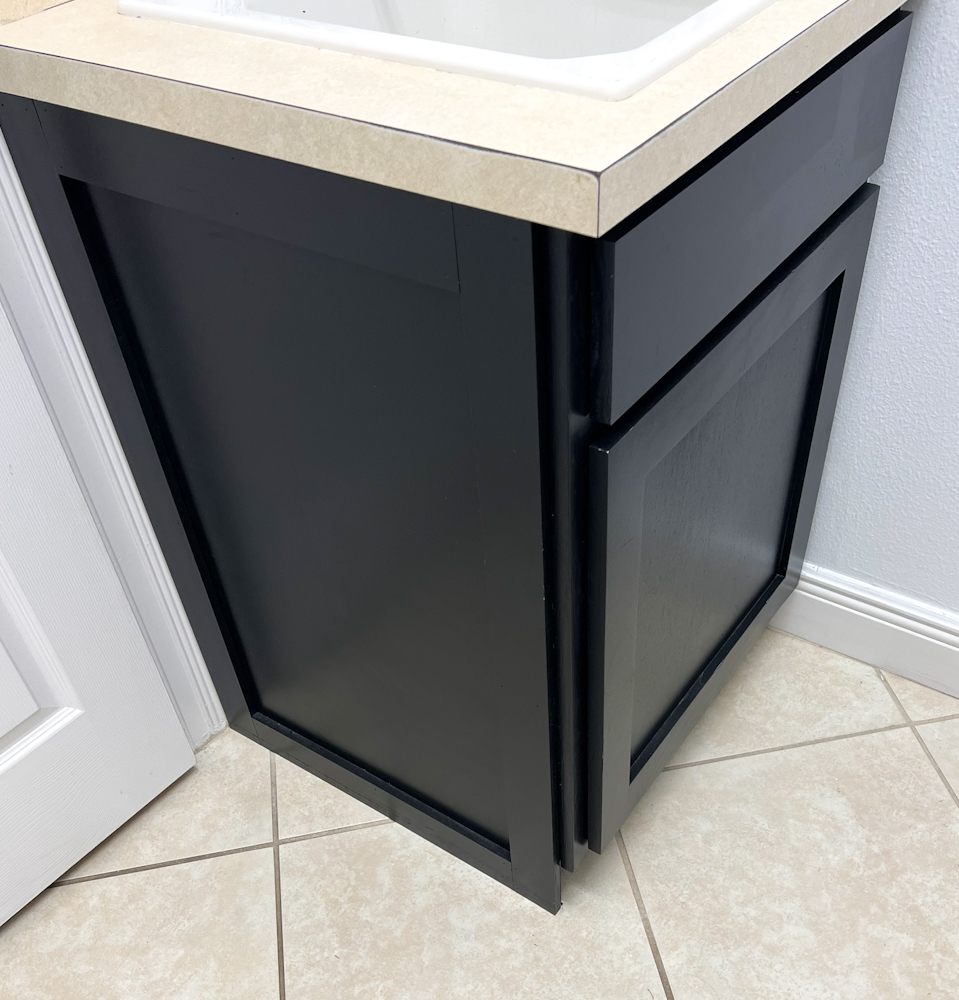
Next it was painting time. For this part, I decided to try a paint sprayer instead of a roller or brush. Let me tell you, it was a game changer. The end result speaks for itself. Cons to using a paint sprayer is that it’s more tedious because you have to take it apart completely to clean it after each use. For one cabinet door, it took 4 times. Once for each side and then a second coat on each side.
DIY Fail
Or a nicer way to say that would be things I would do differently next time. I would buy a more appropriate paint specifically for the cabinet. This was unavoidable in my case. My anticipation was to polyurethane everything to protect the wood from water. In that case, I wouldn’t have needed a cabinet-specific type paint. But the polyurethane looked terrible with brush strokes. Unfortunately, the wood isn’t as protected from scratches and water because of this. At least, the primer I used offers some protection.
DIY Project 3: Laundry Room Countertop
What You Need:
- ¾ inch 4 x 8-foot sanded plywood sheet
- Cut down to size then excess further cut down into strips for framing
- Nail Gun
- Air Compressor
- Table Saw
- Sander
- Sanding Disc
- Wood Stain (Color: Special Walnut)
- Sponges
- SawHorse
- Wood Glue
- Screws (at least 2 inches)
- Stud Finder
- Drill
There are a million different ways to do a laundry room countertop. We decided to go with a stained wood. Now there are a couple of different ways you can go about doing this, but I’m going to show you how we did it, and why I think it’s the best way. First, start with the framing. I wanted my wooden laundry room countertop to cover every corner over the washer and dryer. No stray socks here! In order to do that, the piece of wood to cover that area would be large and heavy. So, you want to make sure that you have framing that can support that weight. Here is the framing and the measurements to correspond. We used 2-inch screws to ensure the strength of the countertop given the thickness of the plywood piece used.
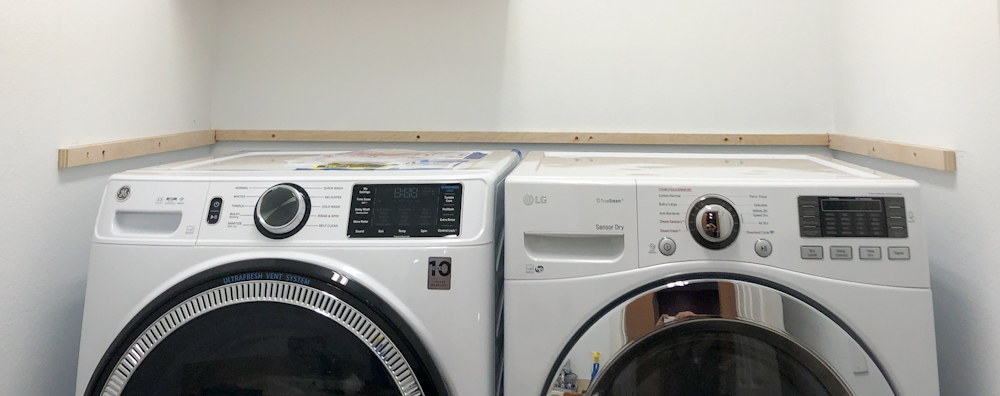
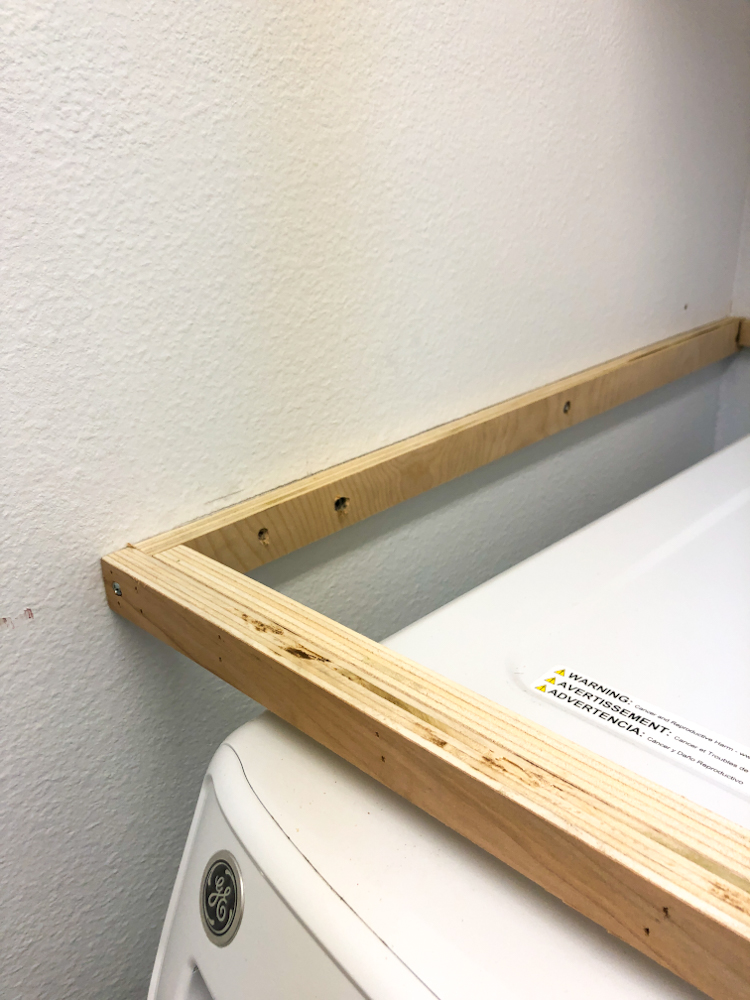
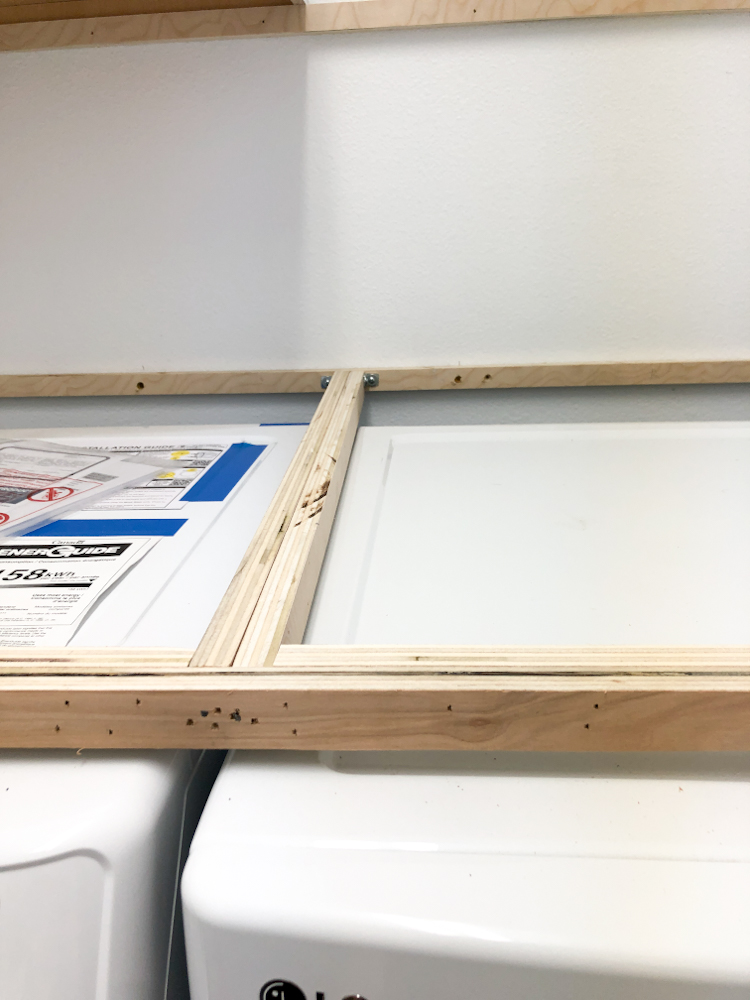

We purchased a ¾ inch thick 4x8 ft sheet of sanded plywood. The helpful Home Depot associates made the major cut down to our laundry room countertop size. After that we had them cut down further the leftover pieces and we used those for the framing. Walls are not always even. Make sure to measure the width between the walls in both the front and the back of where the countertop will be. Ours had a difference of less than one inch. We had them cut it to the larger dimension first. Once we had it home, we made small cuts and sanded it down to fit perfectly from there.
Once you set this large piece of wood on top of the frame, you are going to see the framing underneath. The only way around that is to add a wooden lip to the front of your laundry room countertop. There are two ways to do this. Firstly, you can put a small piece of wood right on the front and nail it in. This is by far the easiest route and if you plan on painting the wood, this will work just fine. But if you plan on staining the wood, like we did, doing it this way isn’t preferred, because you will see the grain of the wood going in the opposite direction very prominently. In order to avoid that, we gave the countertop and front piece a mitered edge so that they would connect flush giving the laundry room countertop a more seamless look. We used both wood glue to attach the front piece as well as the nail gun.
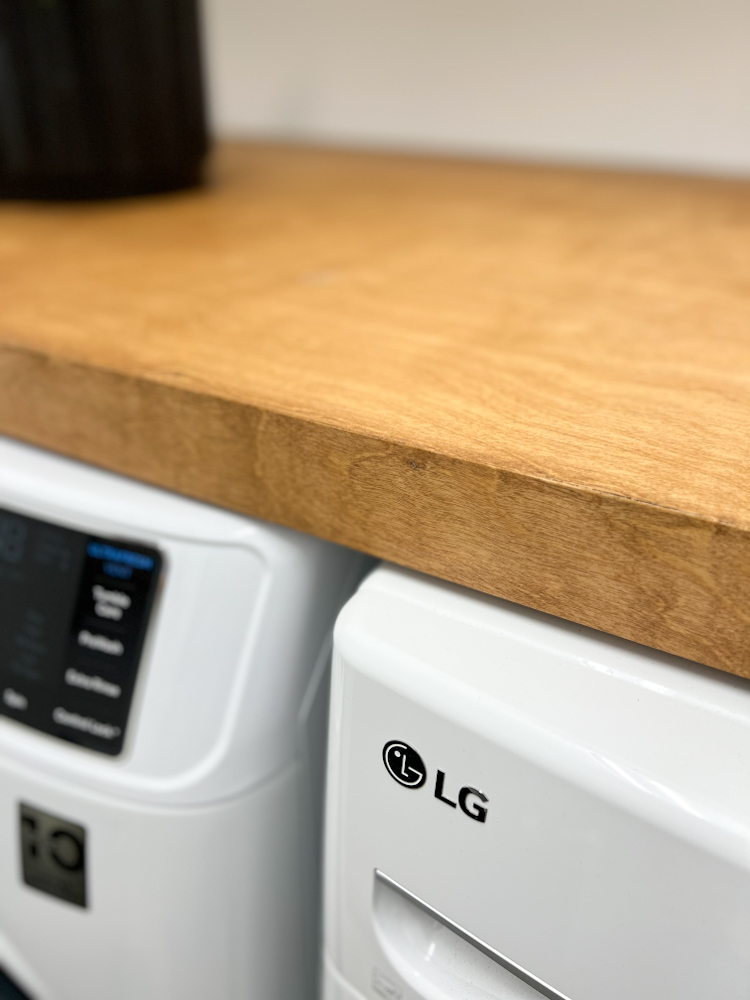
Once the pieces were together, next came the sanding and sanding and sanding. Make sure to use long strokes back and forth along the grain of the wood until it’s smooth to the touch. I was pretty particular about this. With our family’s laundry being folded on top, I certainly didn’t want our laundry room countertop to be putting splinters in our clothes. Once it was soft to the touch, it’s time to get rid of all the dust. But using ordinary household items like paper towels or dish towels can pull at the wood making splinters again. So, we used the compressed air from the nail gun to make sure all the tiny sand particles were gone.
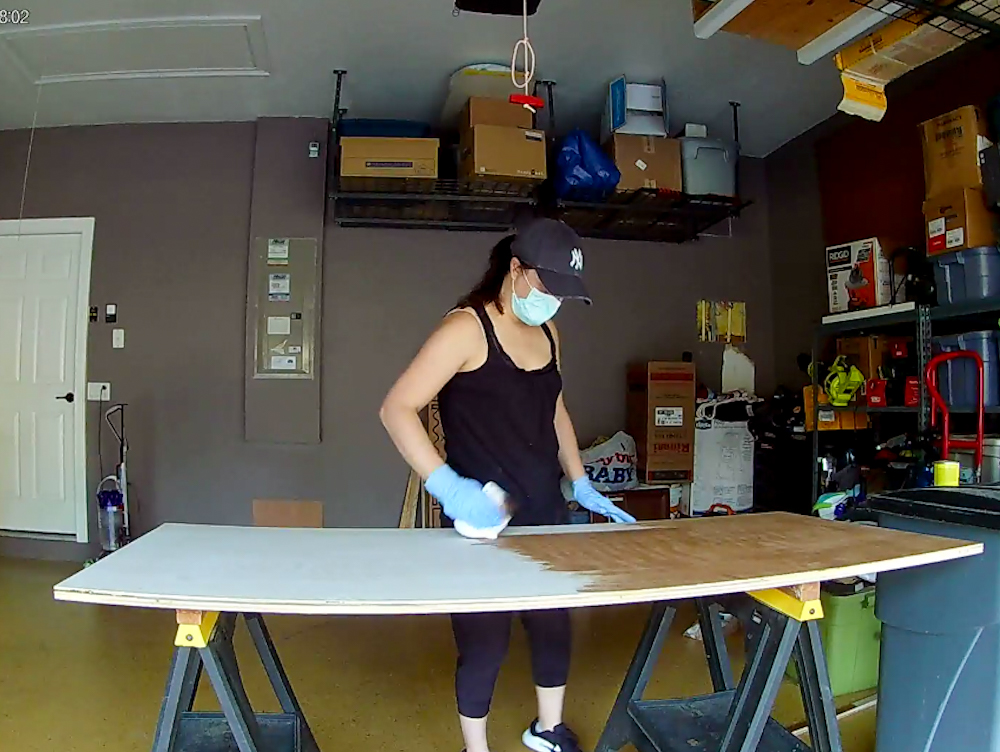
Next came the staining. And depending on how light or dark you want the color to be will determine how many coats of stain you use. I loved the color of stain I chose and wanted it to stand out. So, it only took one coat for me.
DIY Fail
After the stain dried, I tried to polyurethane it. After having some paint brush marks from using polyurethane for another wood piece, I decided to try something different. I used a paint roller this time. Well, that came terrible! There were little, tiny bubbles ALL over the wood. It was so bad, that I had to start from scratch. Back to sanding, and this time I had to make sure not only all the polyurethane was gone, but also the original stain. After staining the wood again, I decided to forgo the polyurethane. With no polyurethane coating, the main issue is to avoid water because that will ruin the wood. My laundry room countertops are not where water is present, so that works out fine for me. Just make sure it works for your lifestyle and what you’ll be using your laundry room countertops for.
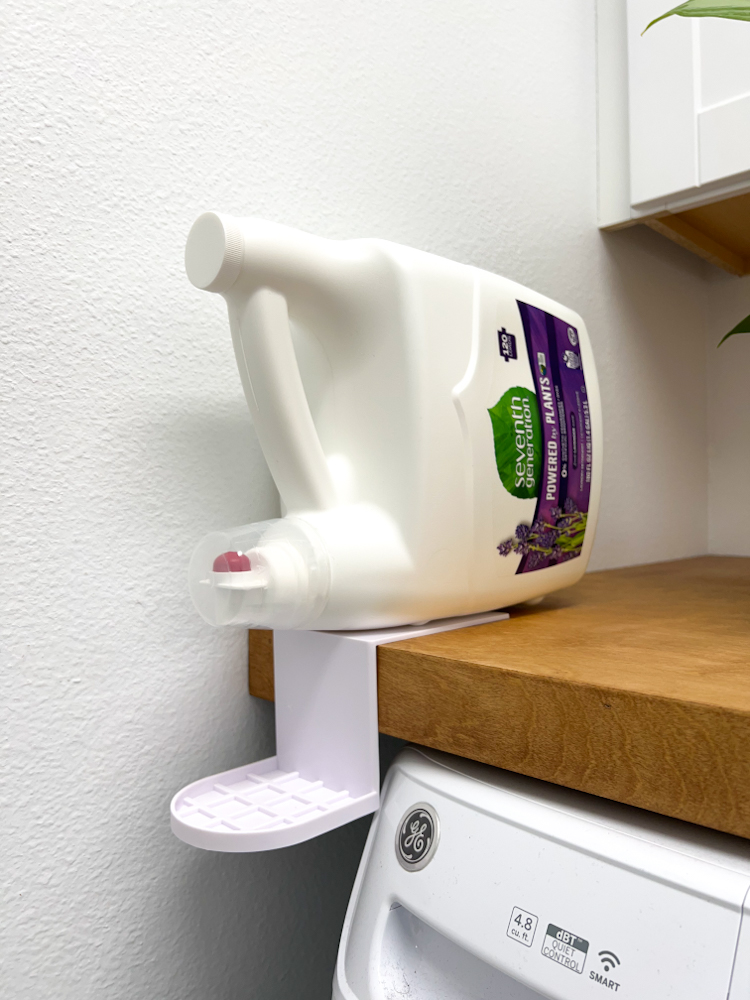
Check out this awesome Amazon find to keep the sticky drips of laundry detergent off my (unprotected) wooden countertops.
DIY Project 4: DIY Laundry Room Shelves
What you need:
- Bracket
- Black Screws
- Sanded Pine Board
- Wood Stain (Color: Special Walnut)
- Sponges
- Polyurethane
- Paint Brush
- Miter Saw
- Sanding Sheets
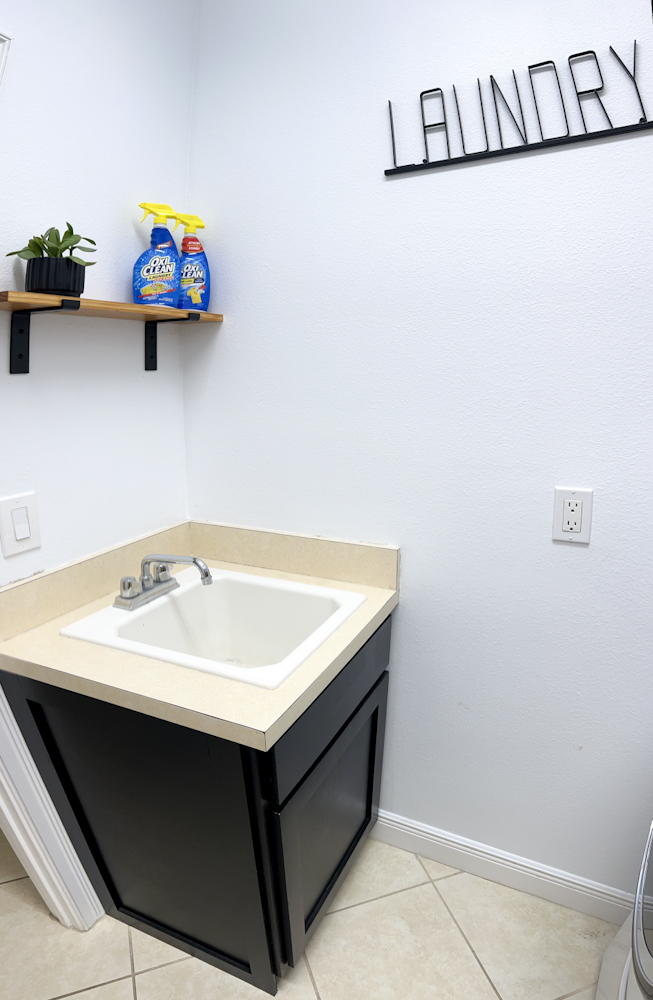
In our laundry room, our countertop around the sink is very thin. Not very conducive to storing items like you would on a bathroom counter. So, we had to find a way to keep things within reach but avoid the countertop. Hence, we decided to DIY laundry room shelves. Now, in our laundry room space, we could’ve had two shelves, but I decided to go for just one. I wanted to keep things minimalistic and only add what we were actively going to use. There are a few different ways to do a modern shelf. We could do a wooden floating shelf or a steel pipe shelf. In the end, I decided to try and tie in the laundry room shelf to the countertop above the washer and dryer. In order to do that, we found a modern black bracket and purchased black screws so that the normal silver-colored ones wouldn’t stand out.
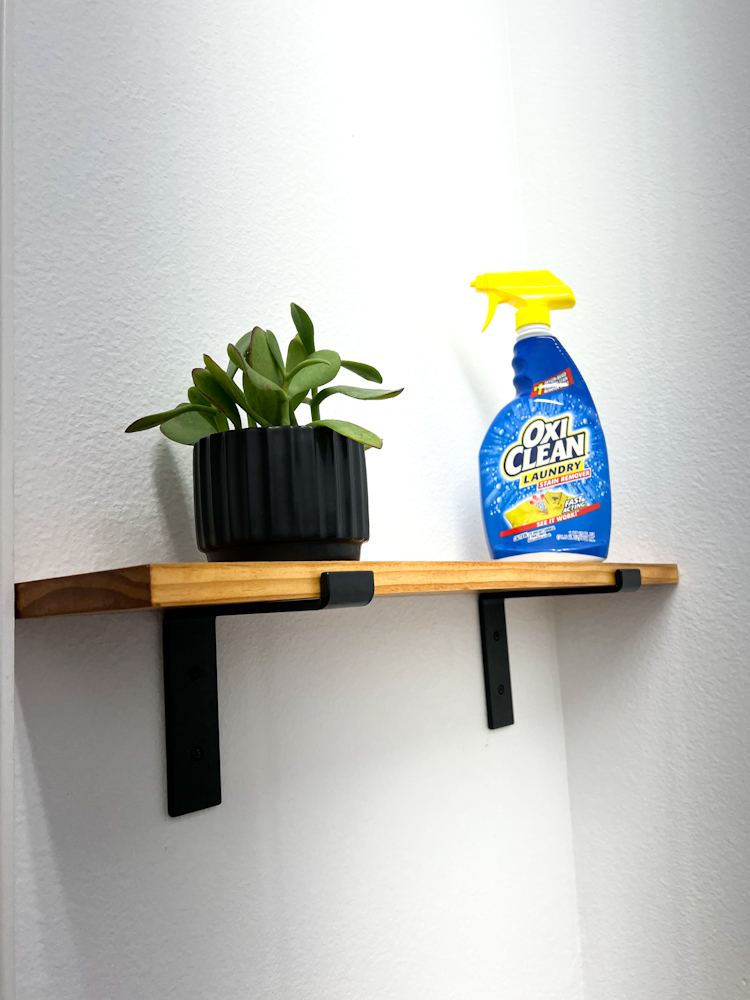
We measured and cut the wood piece to fit the wall and bracket size. I used the leftover stain that I had from the countertop. But since this was a slightly different wood color, it took a few coats of stain before the color matched up closely. Because the wooden shelf was going to be above the sink and likely would hold items that are wet, I knew I had to polyurethane it. But it wasn’t as bad this time. Mainly because the shelf is high enough that no one is going to see the flaws on top. And between the brackets and the shade from the light above, it’s darker underneath, so hard to see any flaws there either. I would say that I was more liberal with my polyurethane coating and that helped to keep the paint brush lines to a minimum.
DIY Project 5: Decorating a Laundry Room
Black and White Laundry Room
Laundry Signs
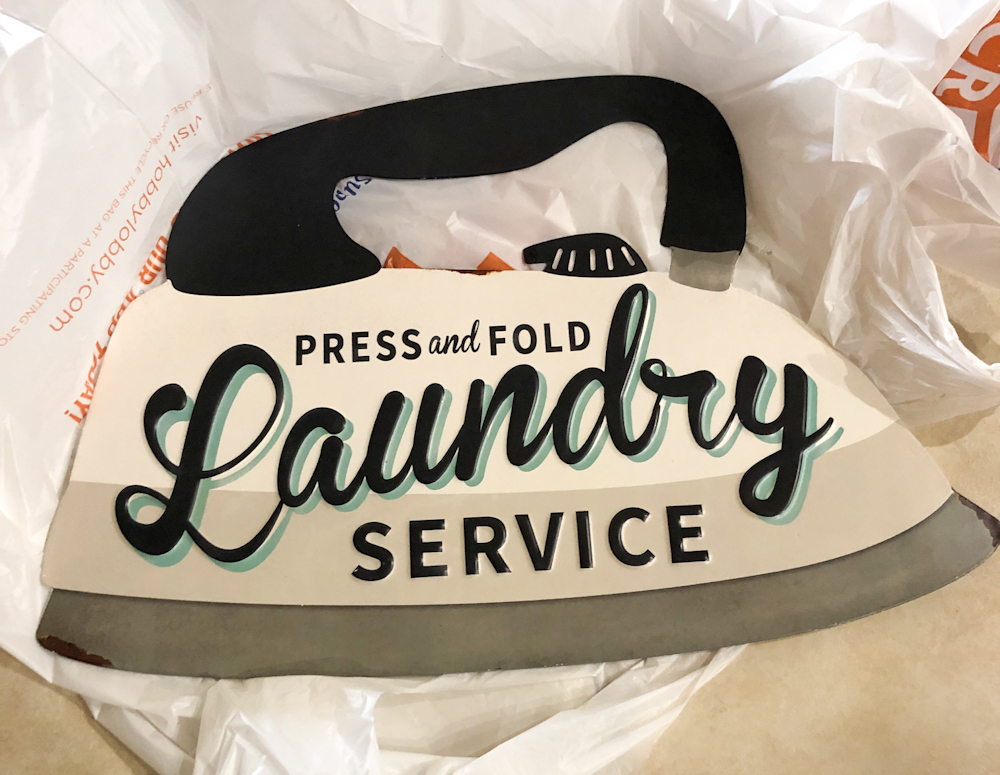
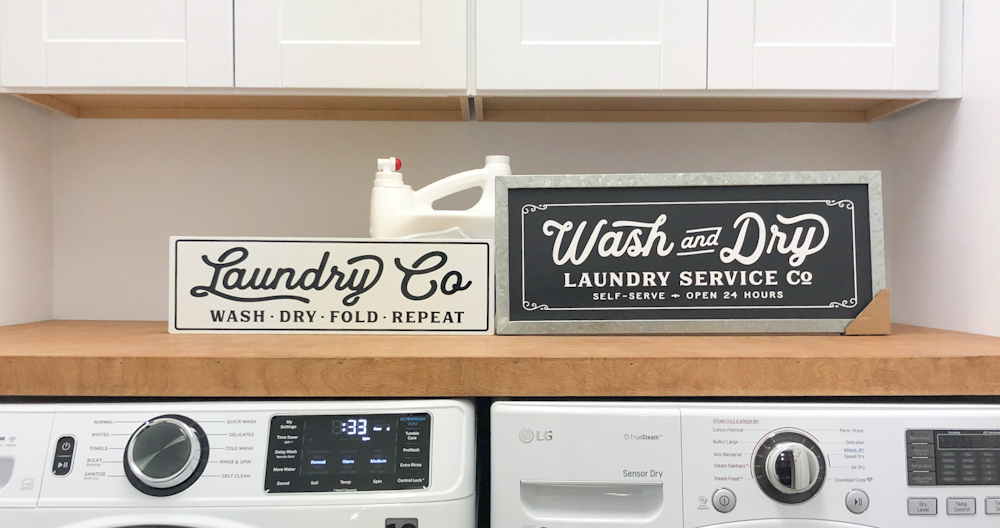
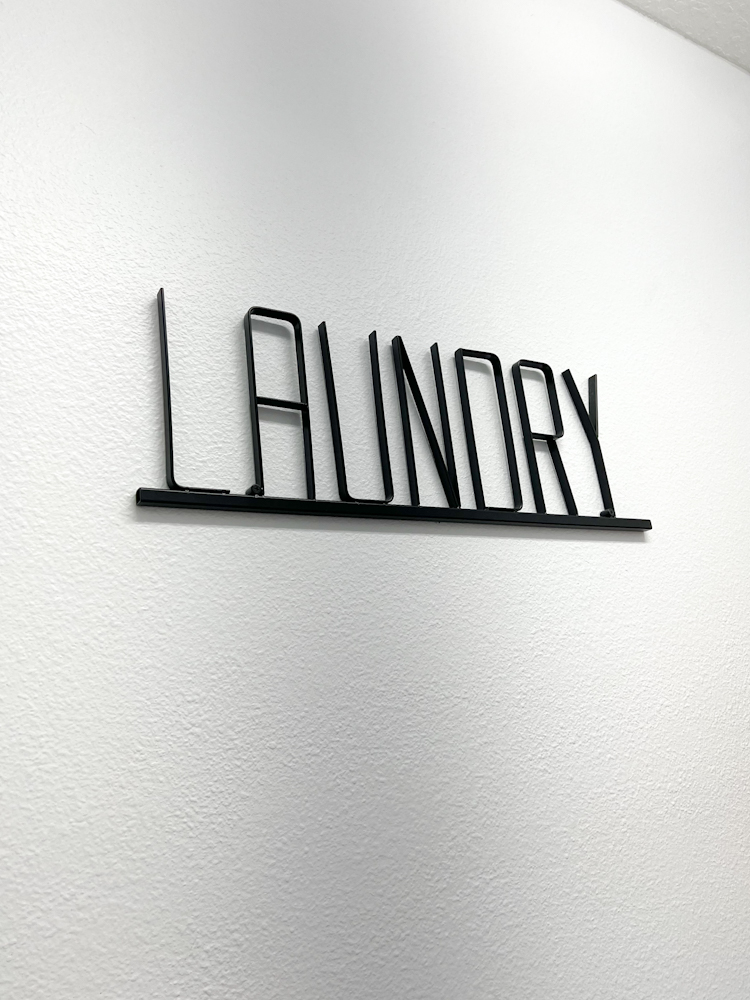
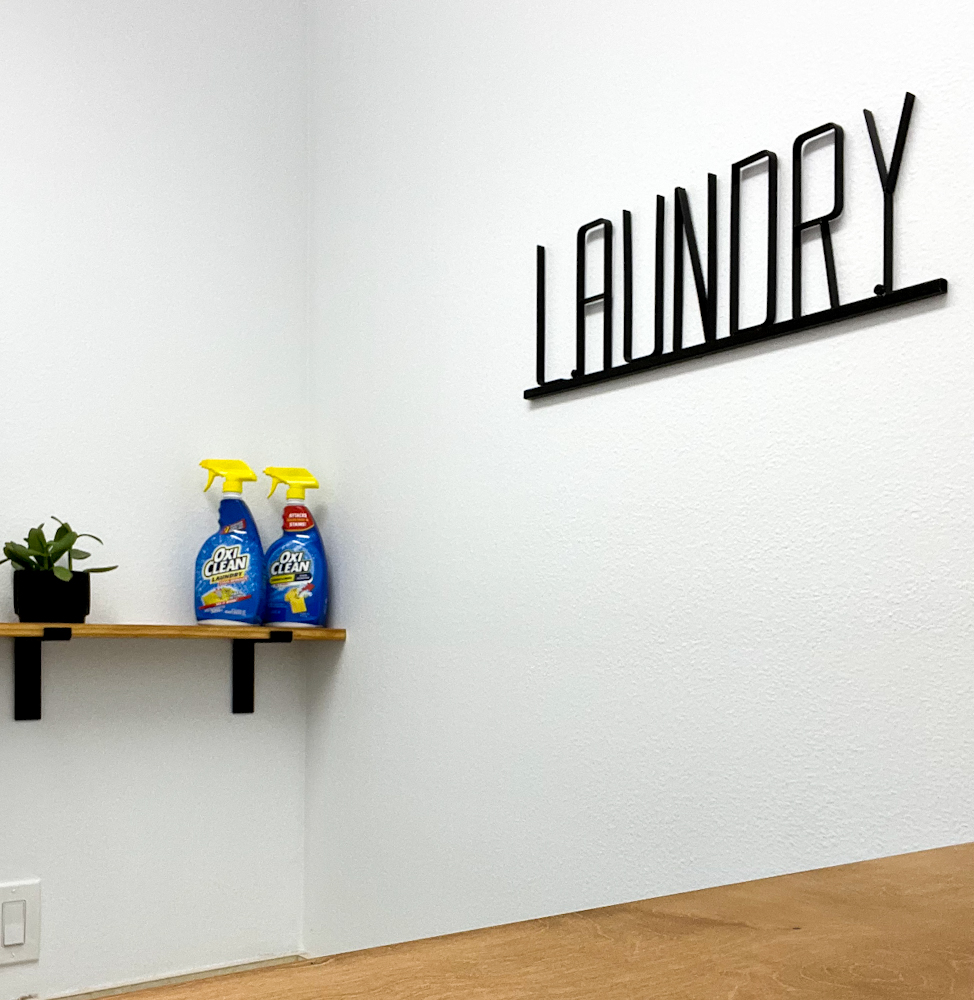
Finding the right laundry sign was tough. There were some really cute laundry signs from Hobby Lobby that were very difficult to return back to the aisles like these.
But it was important that I maintained the modern look and in the end most of the laundry signs were a more farmhouse look than I was aiming for. It was also a little difficult to find something within budget, because the larger the laundry signs the more expensive. The two areas which we were looking to place them were both rather large. In the end, I found this great laundry sign on Amazon. It was budget friendly. And, if you look at it straight on it has that modern thin font but put it on an angle (like we did) and the font was more pronounced giving it dimensionality. It was a great choice.
Dryer Lint Box
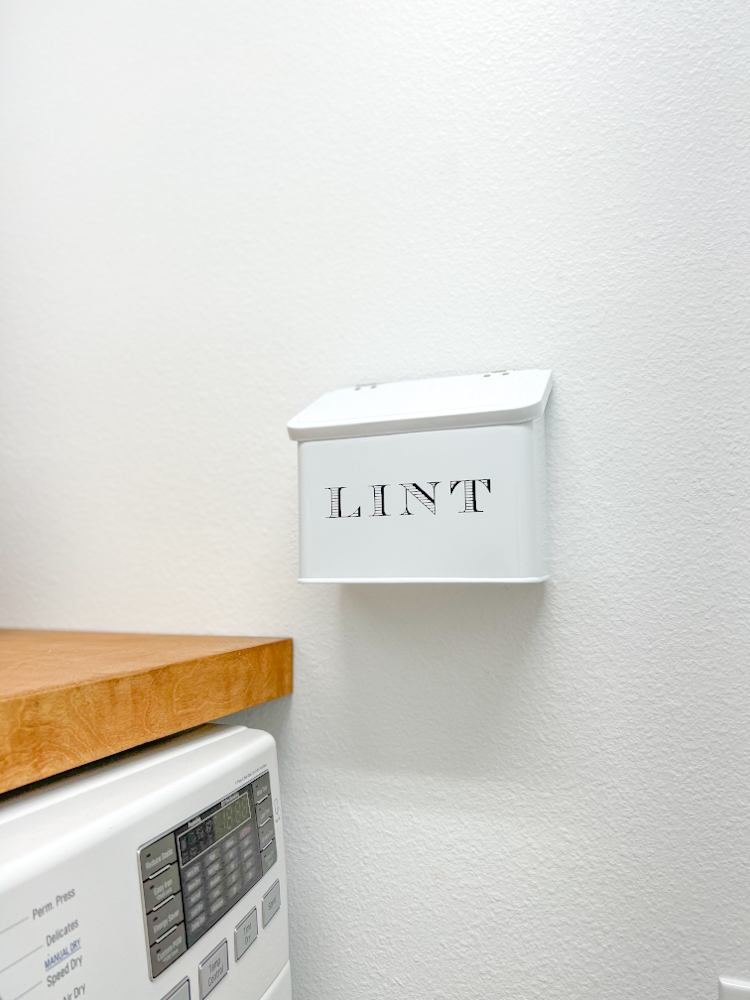
I didn’t even know having a dryer lint box was a thing until very recently. Normally, I just left a grocery bag hanging on the door handle to throw all the lint away. But after having spent so much time, money, and energy on renovating and updating the laundry room, that doesn’t seem to fit the look anymore. Luckily, there are plenty of different kinds of dryer lint boxes to choose from. There are magnetic lint boxes that can be hidden while others like the one we got can be hung on the wall and become part of the laundry room decor.
Low Light Plants and Indoor Plant Pots
With such a modern industrial design, the laundry room can get rather stark with so much black and white. Which is why I’ve included the stained wood to balance it out, as well as adding some natural greenery. Given this indoor location, it was necessary to find low light plants that would thrive well in this type of environment. I also tried to choose a plant that would help with air purification which led me to pick this Chinese evergreen plant. It’s great for the non-green thumb plant enthusiasts like me. Most of these types of plants come in a container with a hole at the bottom for drainage. Unfortunately, with my laundry room countertop not having any water protective covering, I decided to put the original container inside a planter pot which did not have any holes. By doing this, I kept the plant happy and my wood countertop safe.
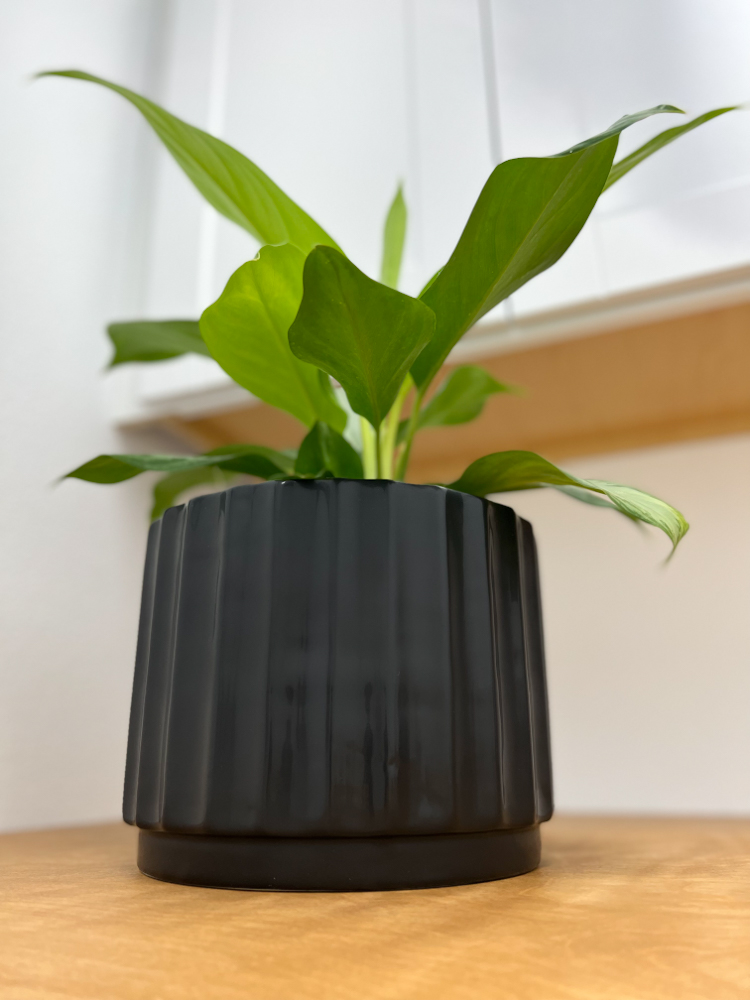
While the countertop area is large enough to warrant a large plant like the Chinese evergreen, the small shelf above the sink does not. So, for the laundry room shelf I decided to go with a smaller plant like the succulent. They are low maintenance and are also a low light plant. With the smaller matching plant pot, I repotted the succulent to its new home.
Glass Jars
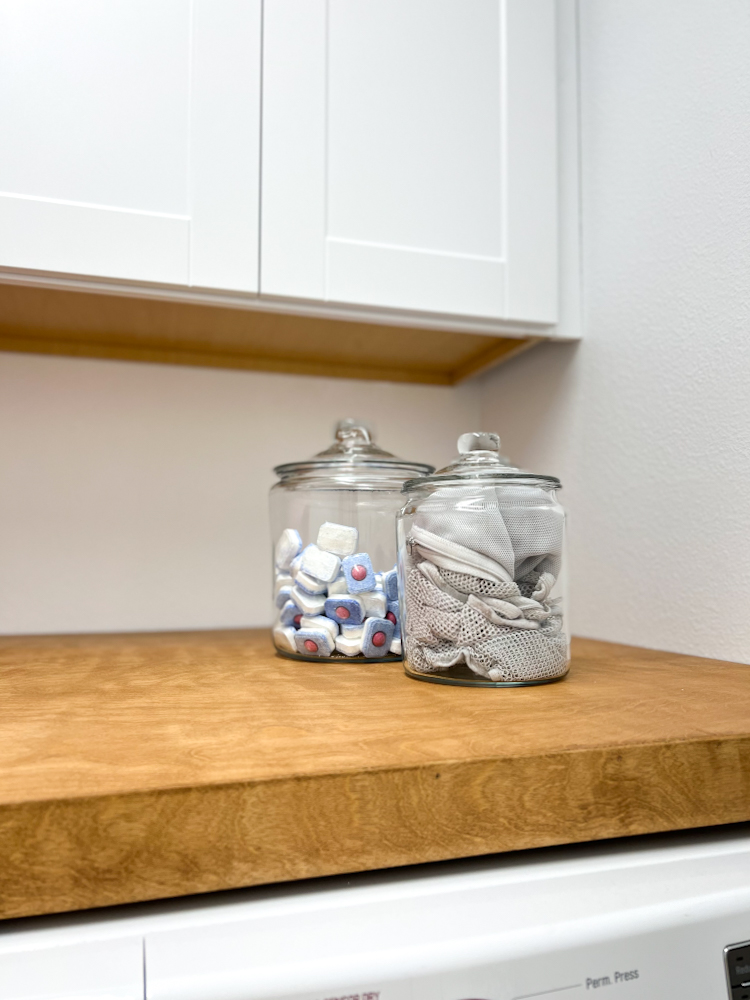
Last but not least are my glass jars. As I mentioned before, as much as I wanted everything to look nice, I also want everything to be functional. It took me a couple of different glass jar choices before I got to these, but they work perfectly in the space. Not only are they functional, but they keep these frequently used items easily accessible.
Thank you so much for reading through this blog post. Let me know if you found this information helpful in your renovations. Since there is a lot of information, if something isn’t clear, or you have more questions, then please leave a comment below. Check out the before photos of our home renovation and other projects we've done in our last home.
Disclaimer: There are some links in this article that are affiliate links, which means that if you purchase through them, we receive a small commission. This is never an extra cost to you. Thanks for your support.
