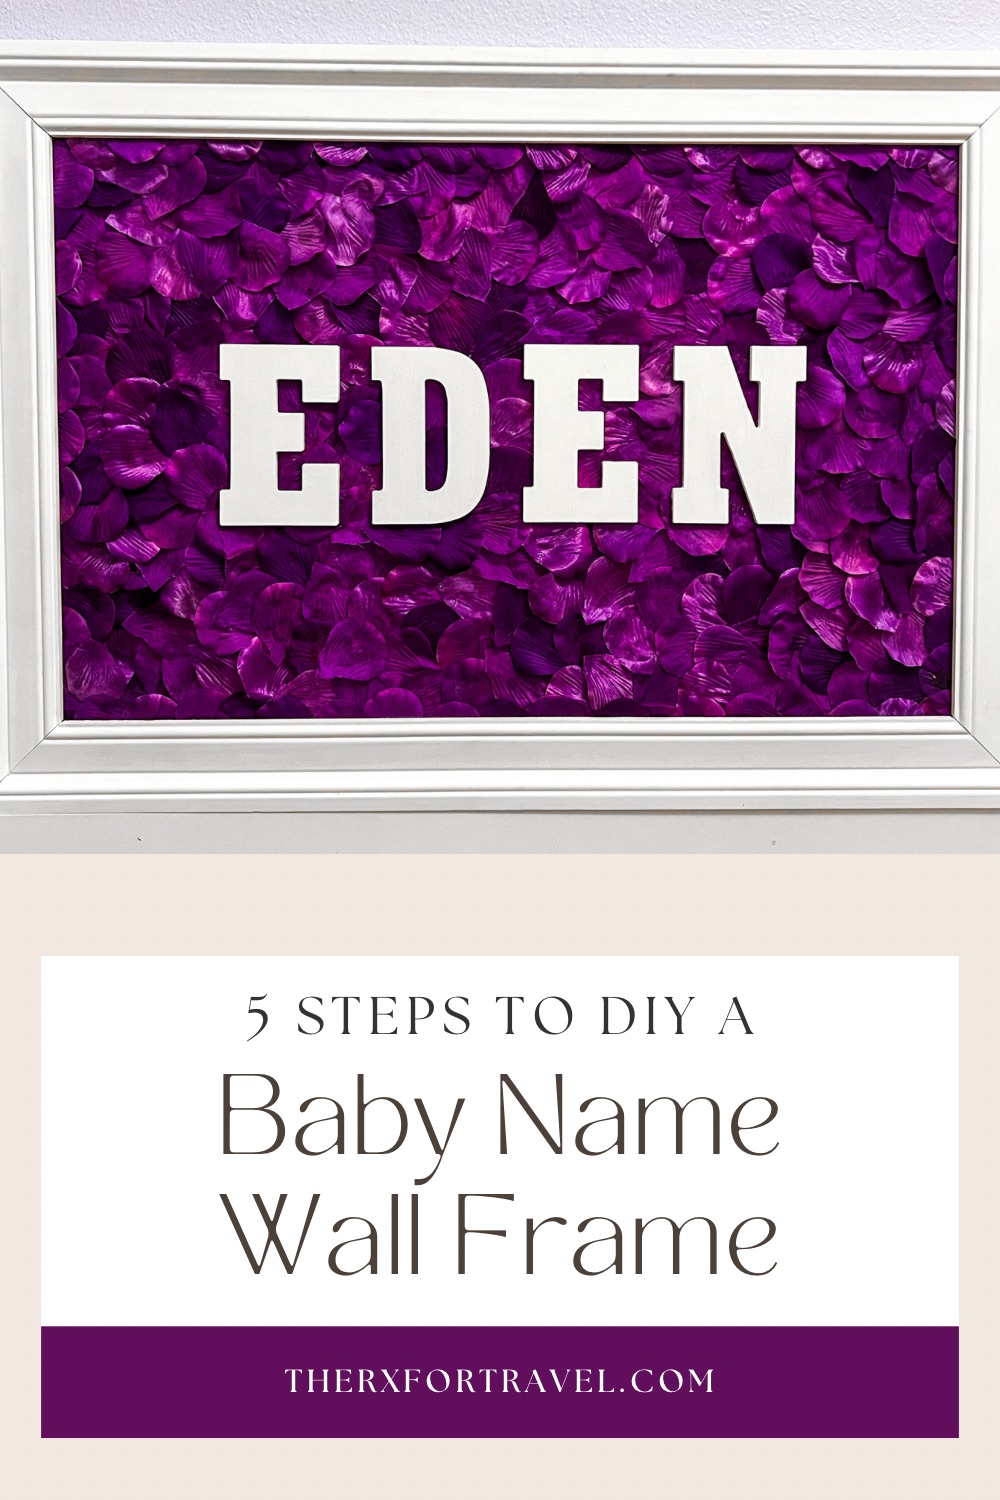
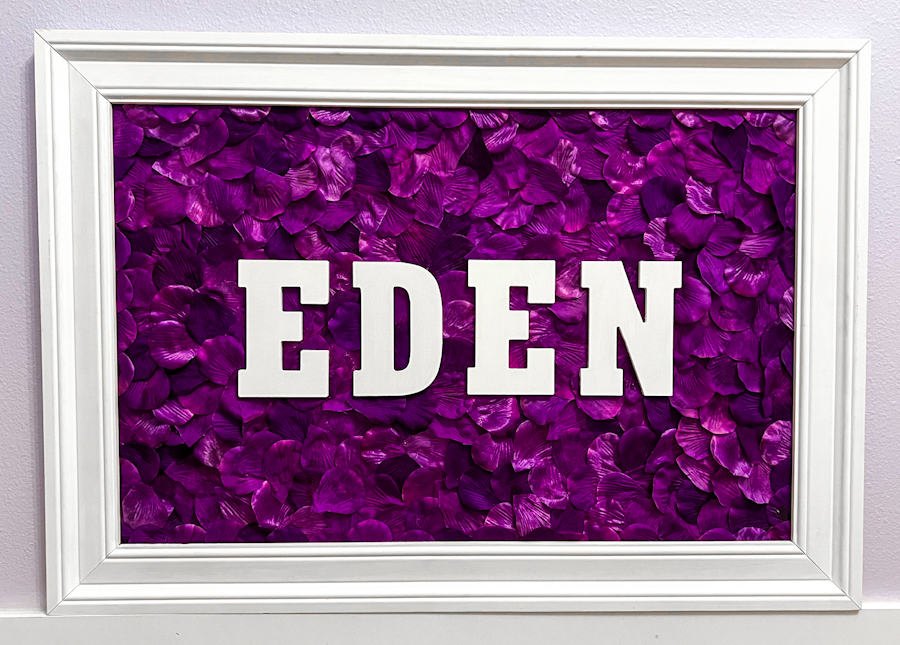
In this easy step by step guide, we’ll review how to DIY baby name wall decor just like mine.
Disclaimer: There are some links in this article that are affiliate links, which means that if you purchase through them, we receive a small commission. This is never an extra cost to you. Thanks for your support.
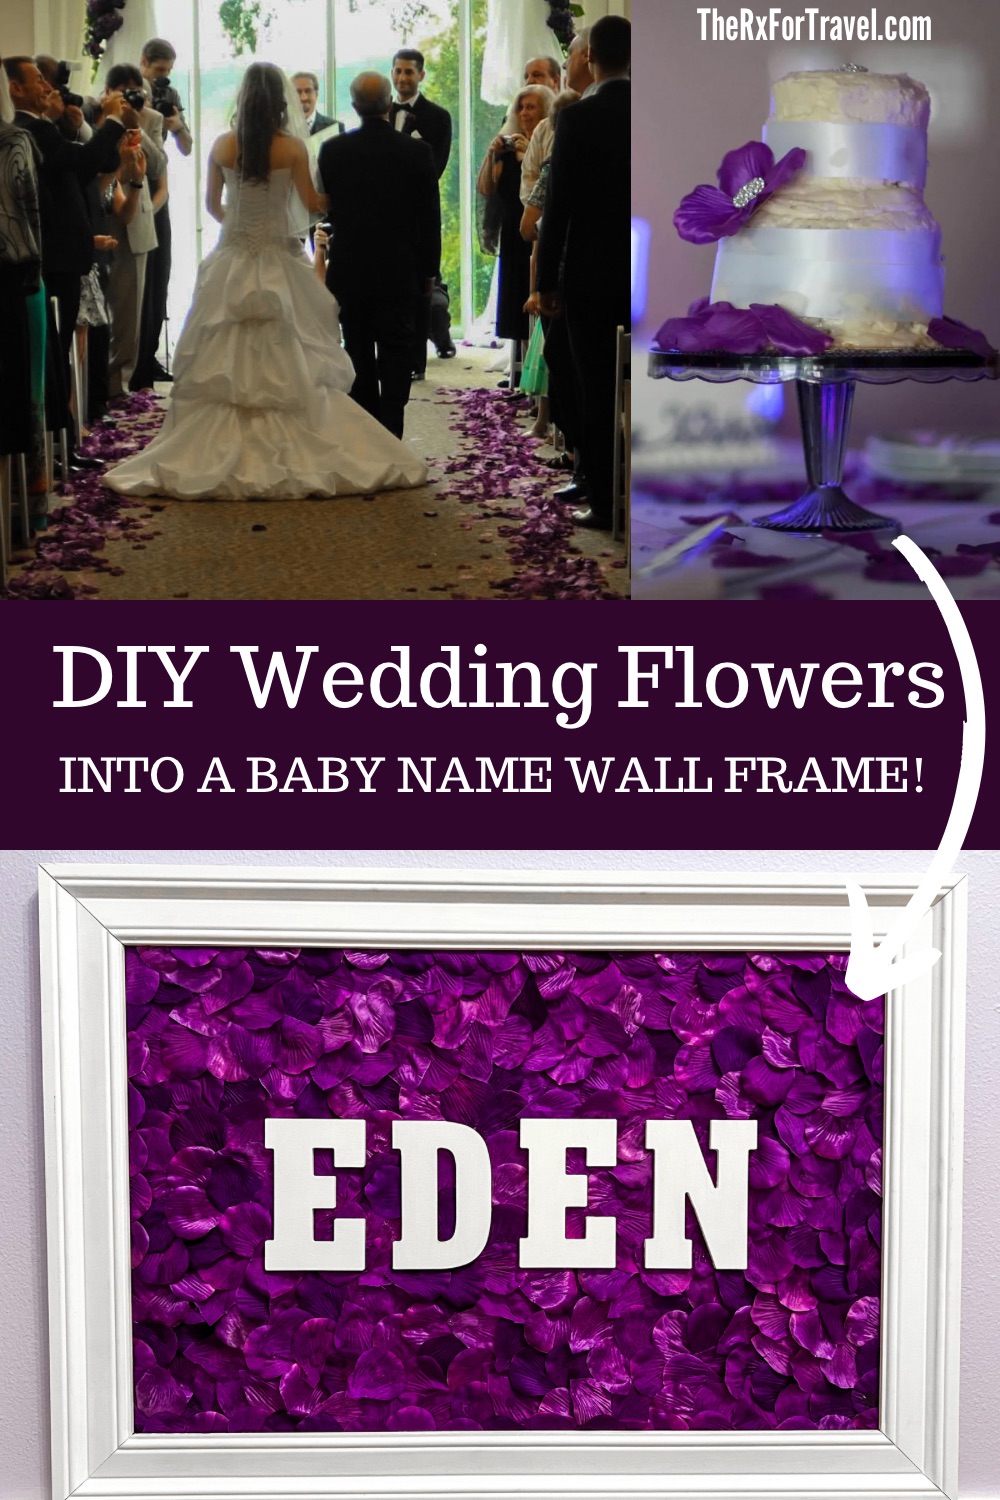
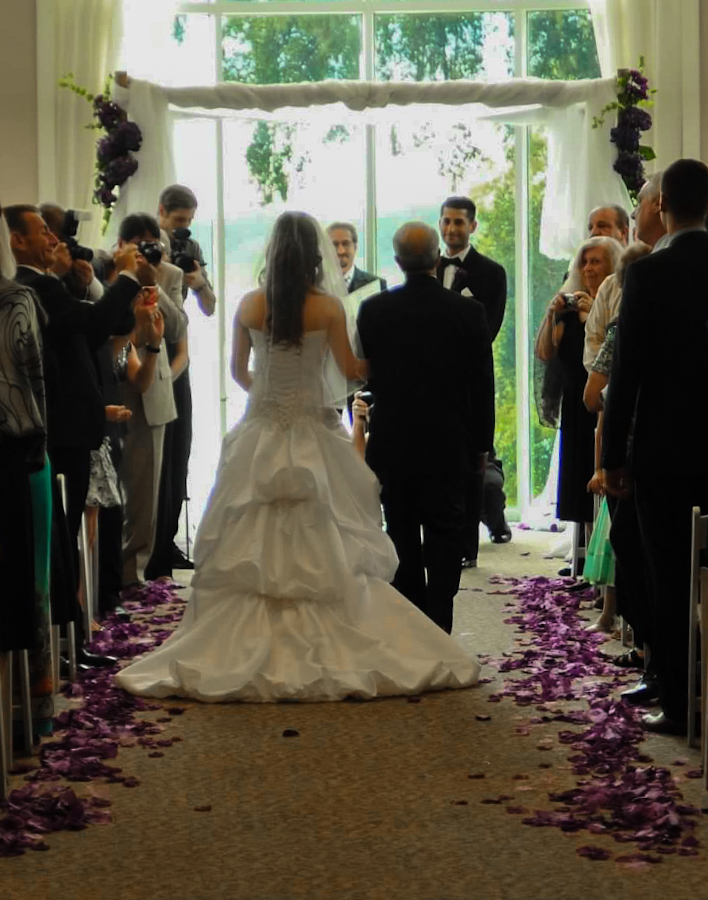
The story of this baby name wall decor actually begins many years before I designed and made this. Michael and I were planning our wedding and deciding on flower arrangements, boutonnieres, bouquets, and flower petals. And if you’ve been through any sort of wedding planning, you’ll know that everything is expensive. As we were pricing out flowers, we realized that although real flowers would look beautiful being scattered down the aisle, they were just too expensive. We also didn’t have a flower girl in our wedding, just adults in our wedding party. So, there was also no one to throw said flowers.
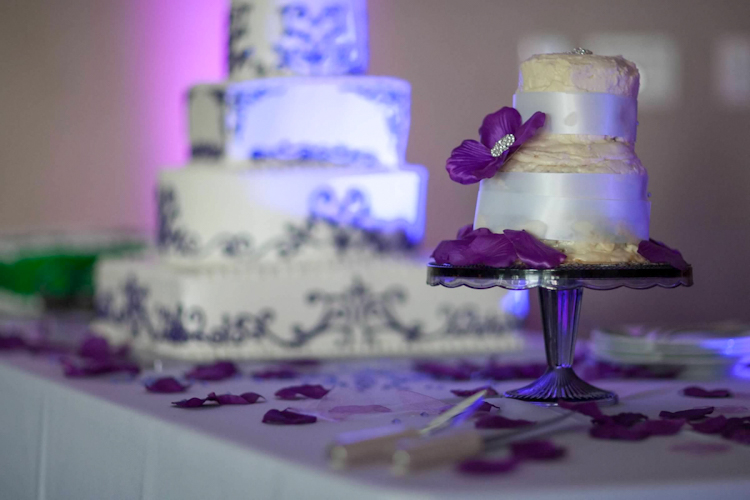
In the end, we decided to purchase fake flower petals, which were considerably less expensive. We mixed the faux flower petals with other jewels and bunched them up along the sides to make the aisle. Afterwards, we swept all of them up and they went into a box never to be seen or heard from again, or so we thought. But I hate that we are putting all those memories in a box and then you never see them again or get to appreciate them. So, if there is an opportunity to turn them into something more meaningful or use them in a way that you can enjoy them, it’s those kinds of things that make me happy. And that’s just what I did.
Once Eden came along, I knew I wanted some sort of baby name wall decor to go up in her nursery. But then while deciding on what could be both pretty and special, it dawned on me that I still had those faux flower petals from our wedding just sitting in a box in the garage. So, I decided to repurpose them and make them into Eden’s baby name wall decor. Now, it has both a story and a memory while hanging up in her room. It’s also convenient that my favorite color is purple which was our wedding color. It is now her favorite color too. But I don’t know how that came to be 😉
Baby Name Wall Decor Step by Step Guide
Step One - Supplies
Just like in making any kind of recipe, the first step is always purchasing or making sure you have on hand all your ingredients. So here are your ingredients as a list of all that you’ll need to complete this project.
Flower Petals [More Petals]
Glue [Wood or Clear]
Paint
Door Casing
Frame
Saw
Board Backing
Spackling or Filler
Sanding Block
Staple Gun
Staples
Letters
Glass Bowls
Clamps
Hanger Hooks
Step Two - Gluing
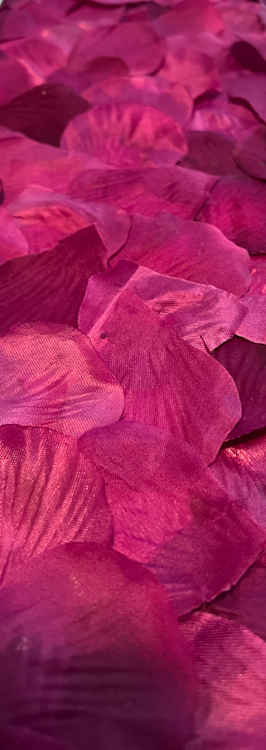
The next step and probably the longest of the steps is attaching all of the flower petals to the board. I used wood glue because I wanted this to last a long time. School glue or something similar may result in the glue drying up off the petals and then they fall off, and I didn’t want that to happen. Unfortunately using wood glue meant this part had to be done in sections. By doing it in sections, you allow the glue to fully dry, before layering another set of flower petals on top. The wood glue looks like the color in the bottle when applied, but typically dries into a slightly lighter color. If you are concerned by this at all or if you are using lighter color flower petals, I’ve linked the clear glue just in case.
Once I applied the glue, the flower petals which are very small and very thin and can sometimes rise up off the board or try to shrink closed. This is another reason why I did this part in sections. I used a bunch of glass bowls to help keep the flower petals flat while the glue dried. Now, I used glass bowls specifically because some of the glue will inevitably stick to the bowl while drying. But it’s easier to get glue off glass and not have it mess up the finished product versus other household items. For my baby name wall decor board, I layered the flower petals and used different colors. You don’t have to do this, but I felt like it gave it a little more interest.
Step Three - Letters
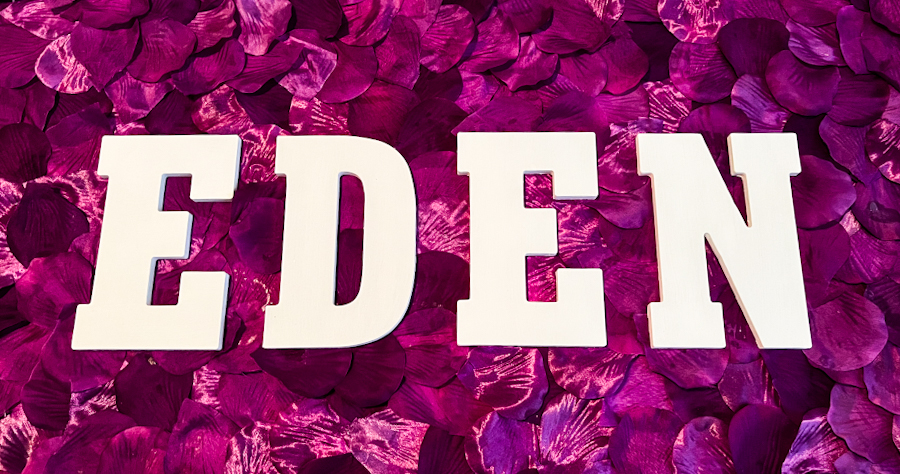
There are so many different fonts of letters available for purchase and all different sizes. So, you just find whichever one matches the baby name wall decor that you are designing. I’ve included the ones that I used for my baby name wall board. This step is the most important step because once you get wood glue on these wood letters, that’s the end. So, measure everything twice, set it out before anything gets glued down to make sure you are happy with it. My letters were grouped close together. But honestly, you can do whatever you want, space the letters out, slant them, or even make one high one low, the sky's the limit.
Step Four - Trim or Frame
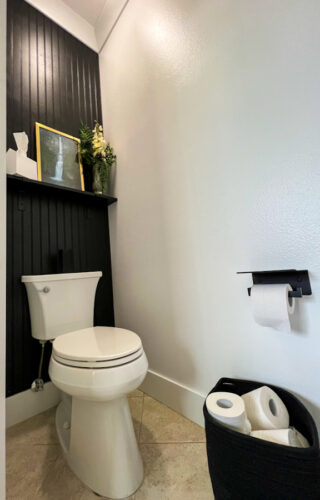
You can definitely go the easy way and buy an open back frame from a place like Hobby Lobby or Amazon or even Etsy. If they don’t have it in the color you want, you can always paint it. We chose to go a slightly less expensive route [FREE] and use one of the millions of pieces of door casing or baseboards that we had in the garage from other projects like the laundry room and our toilet room makeover. We also had all the tools on hand, so the frame was essentially free for us to put together. If you don’t have any of these tools already, then it might be less expensive to just buy a ready made frame. If you do have the tools and supplies on hand, then it's free to make one yourself.
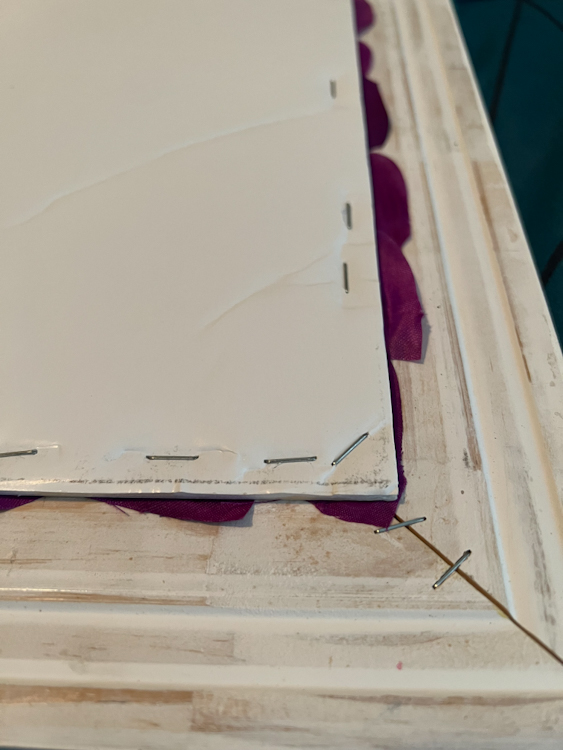
If you are making the frame yourself, then you’ll need to cut the casing/boards down to size (depending on your board backing size). We cut the corners down using a mitered edge which helps avoid seams. Once the trim pieces were cut down, we applied the wood glue and stapled the corners together on the back side. If you need to, you can use clamps to make sure the corners don’t move while the glue dries. After the glue dries for all the corners of the frame, if there is still a gap, you can fill it in (if you like). With a little wood filler, a slight sanding once the filler dries, it’s ready for either staining or painting.
Step Five - Putting it all together
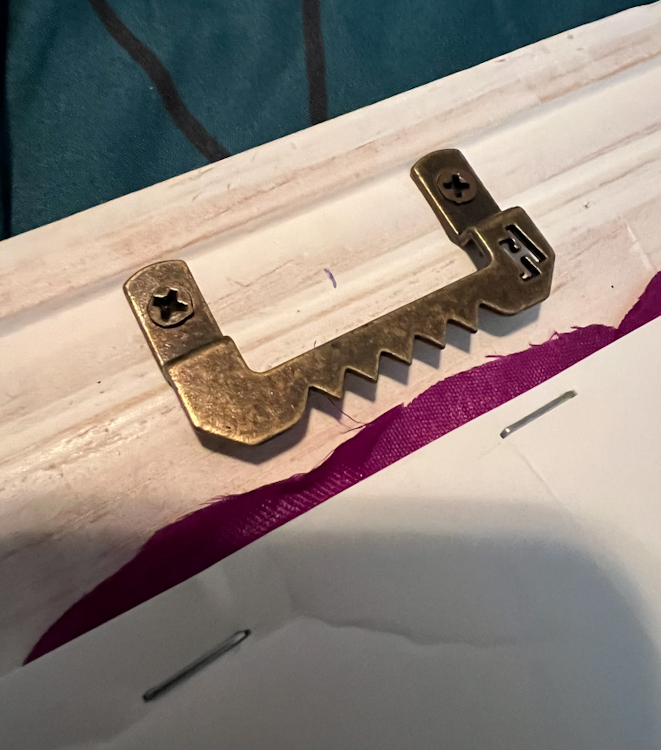
Once the frame is all done, then measure again (maybe again) and staple the board to the open back frame. Once that is in, then you’ll need to install the sawtooth hanger in order to hang it on the wall. And, you are done, voila! If these step by step instructions helped you, then show me your project in the comments below.
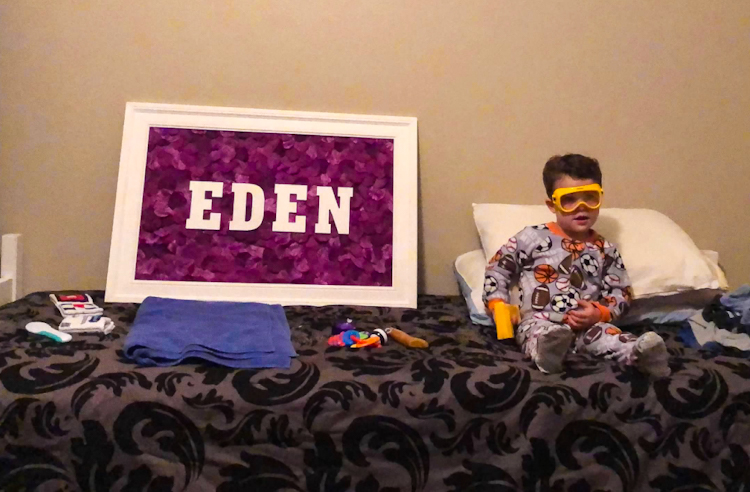
Roman helping dad put Eden's baby name wall decor up.
Disclaimer: There are some links in this article that are affiliate links, which means that if you purchase through them, we receive a small commission. This is never an extra cost to you. Thanks for your support.
