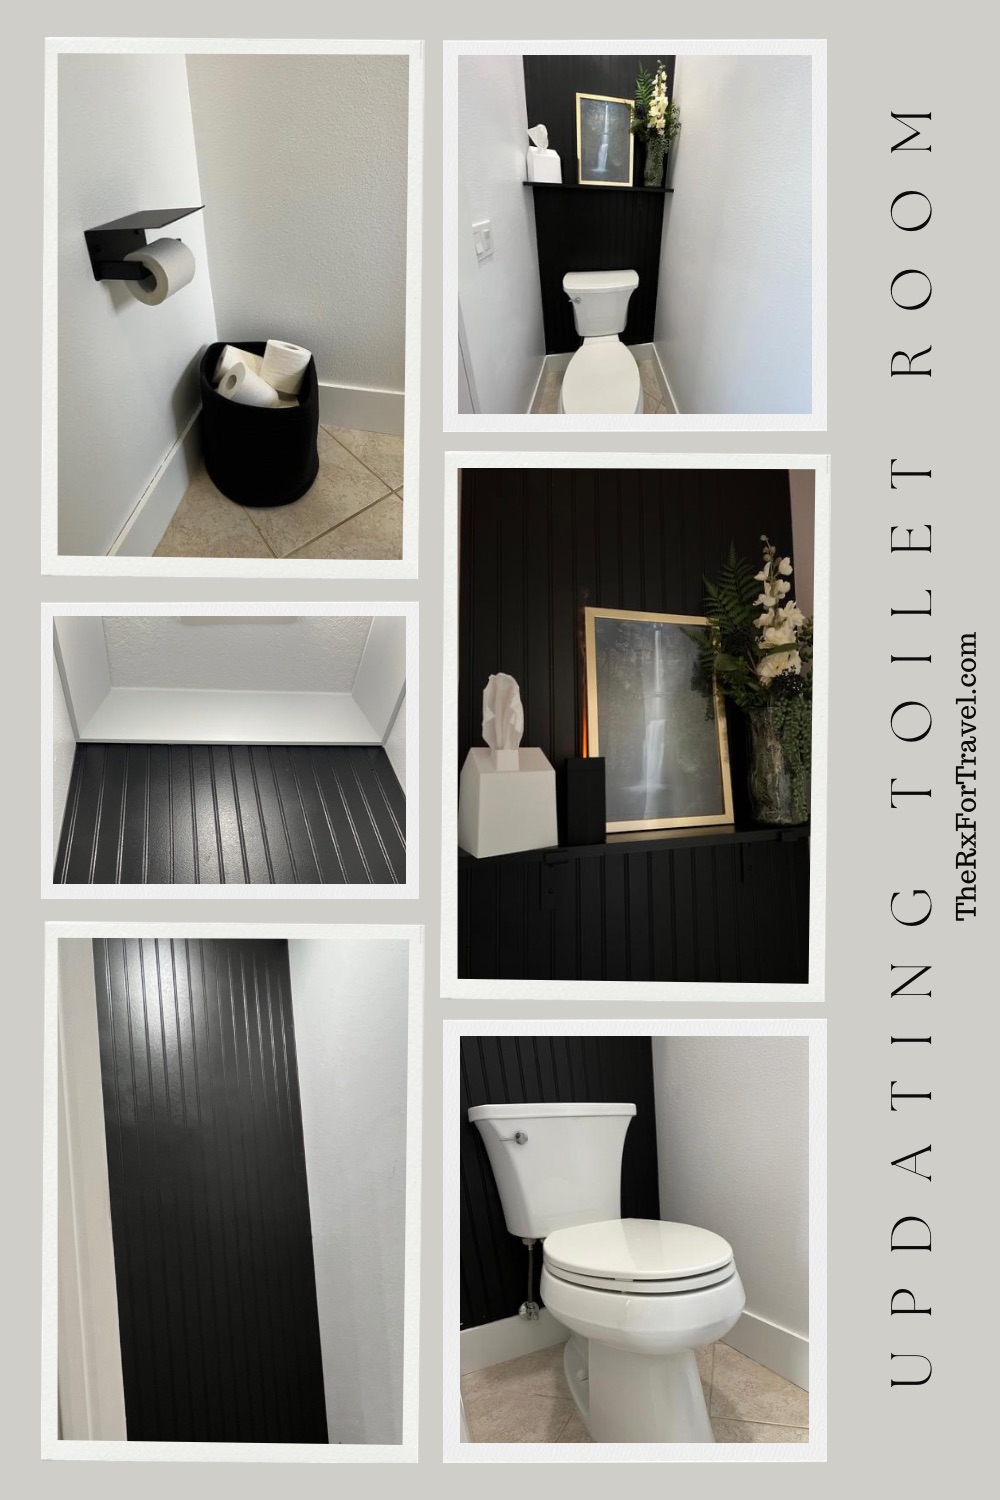
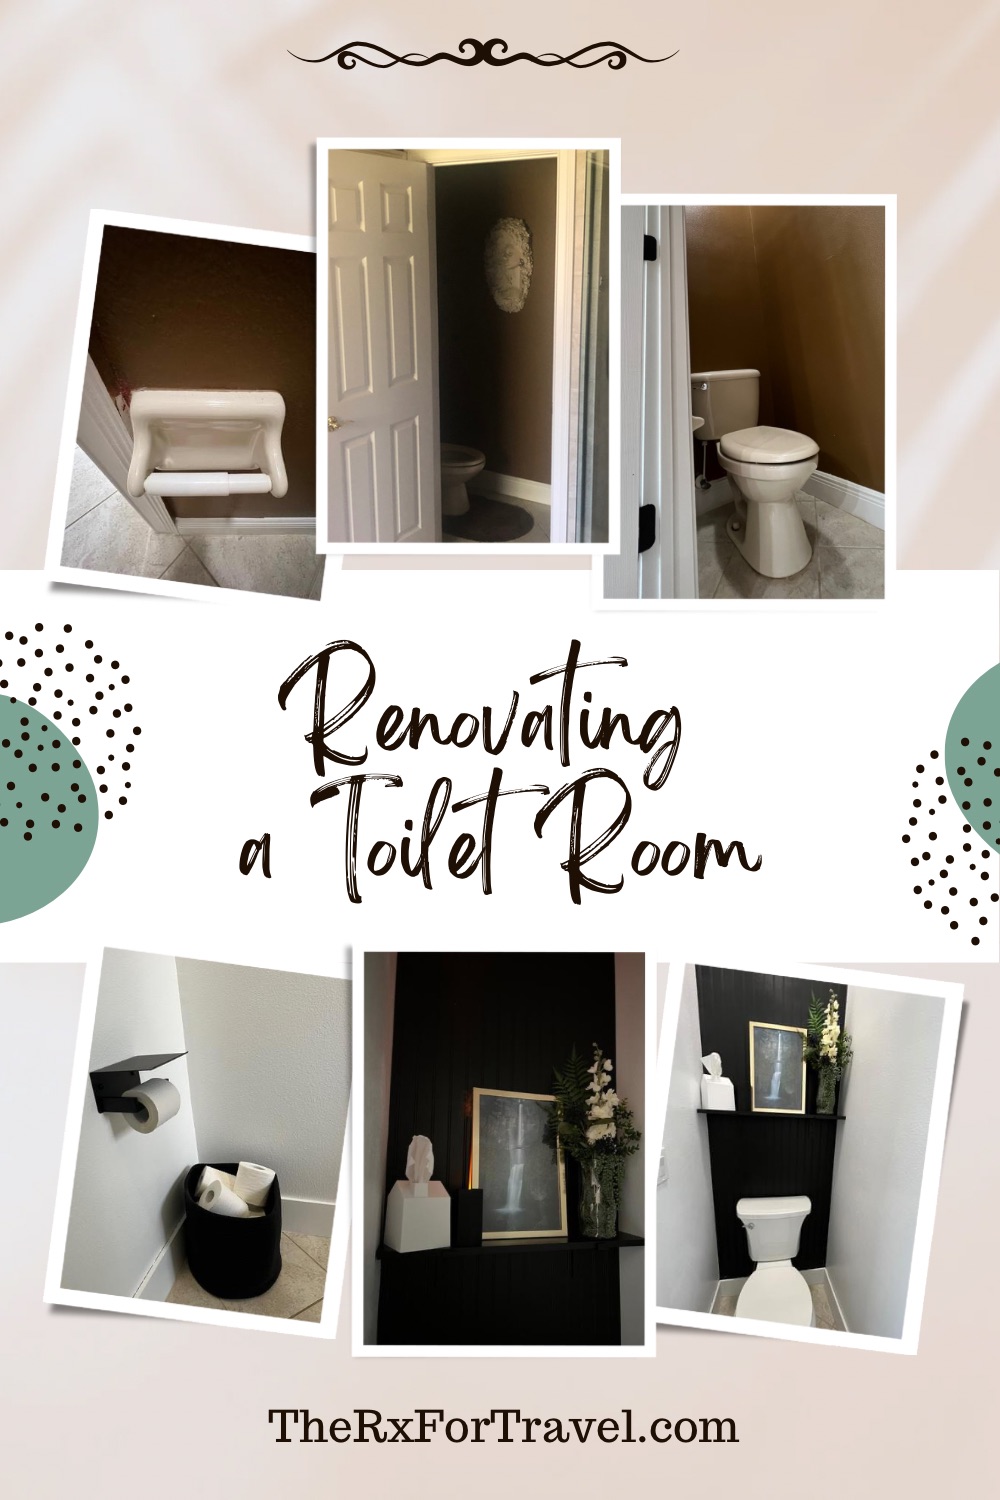
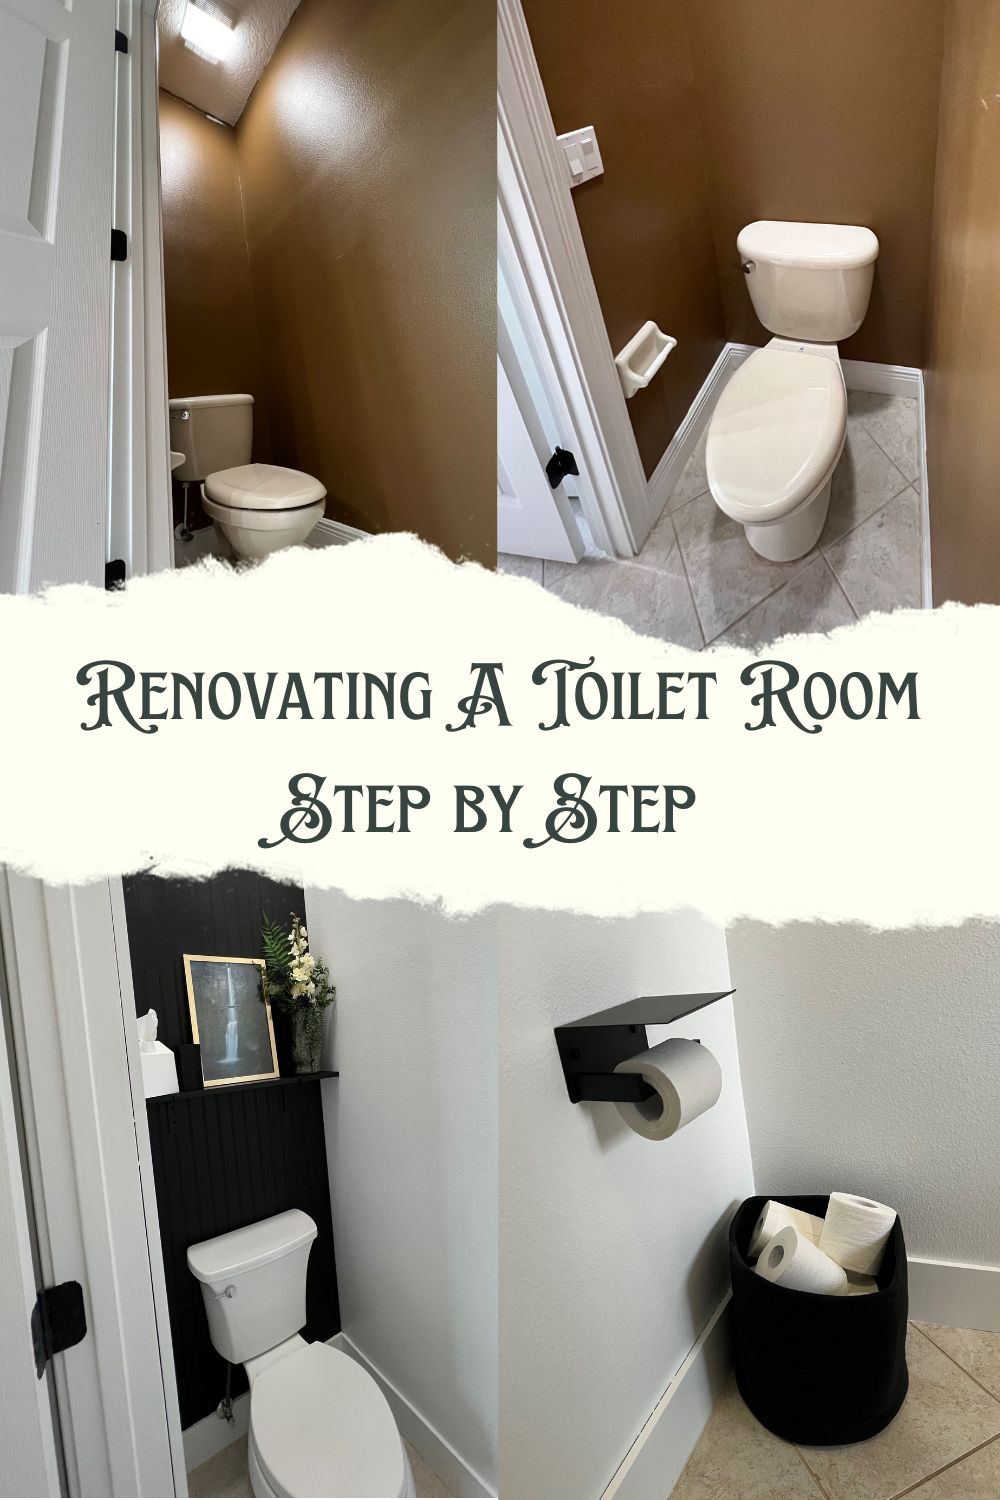
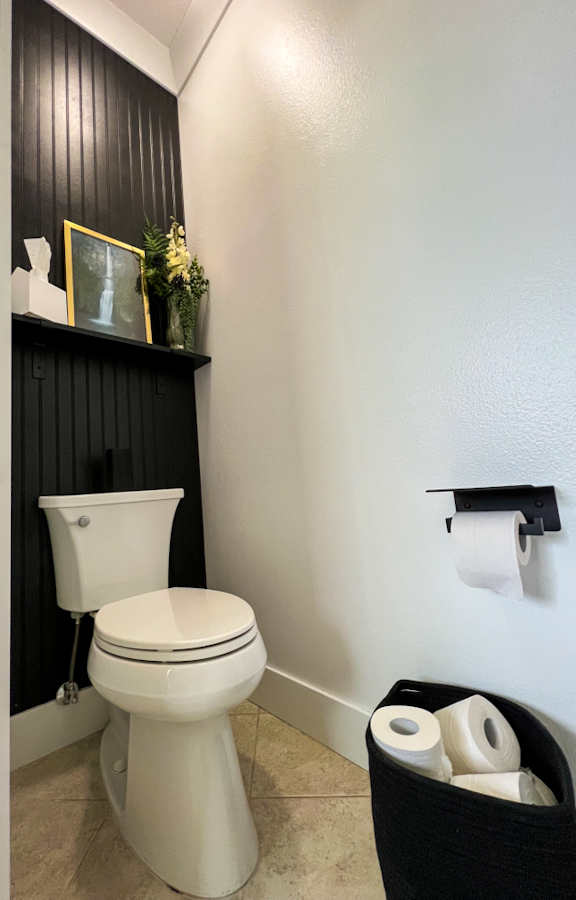
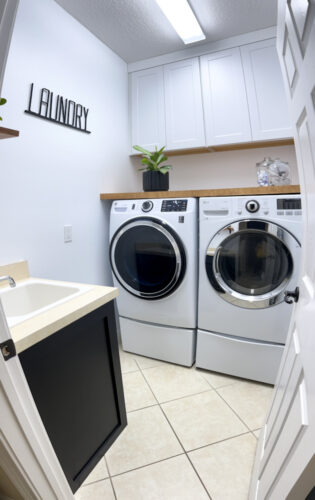
It may be the smallest room in our house, but here you’ll find all the updates we made to increase functionality with our modern toilet room design.
If you want to see the video journey of this renovation, I’ve saved it as a highlight on our Instagram page.
Disclaimer: There are some links in this article that are affiliate links, which means that if you purchase through them, we receive a small commission. This is never an extra cost to you. Thanks for your support.
Our Toilet Room Story
We weren’t really planning on renovating the toilet room of our master bathroom first. If it was up to us, we would’ve just renovated the toilet room along with the entire master bathroom all at the same time. But when we first moved into the house, I was woken up in the middle of the night thinking someone broke into our house and was using our toilet. The reason being is because our toilet flushed by itself in the middle of the night. Thankfully, it wasn’t an intruder.
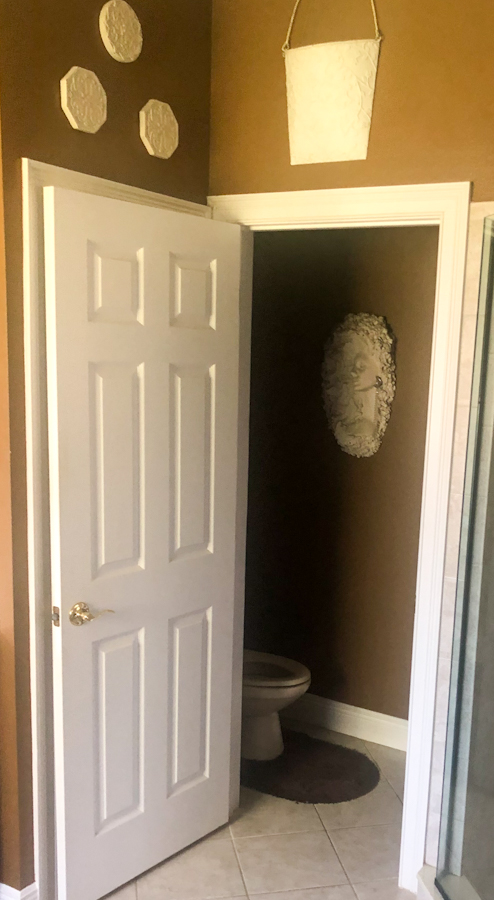
Our toilet just had an internal leak that once the tank filled up, it would reset and flush the toilet on its own. After a while though, the leak noise and the flush noise were just so loud in the middle of the night that it was getting really annoying and would wake me up. And if you are a parent, then you know that sleep is a hot commodity that is hard to come by. I wasn’t ready to let my toilet take that away from me. So, we decided to at least proceed with renovating the toilet room even if we weren’t ready to renovate the rest of the master bathroom just yet.
Paint for a Modern Toilet Room Design
- Behr’s Bakery Box (white) paint
- Behr’s Limousine Leather (black) paint
- Paint Sprayer
- Paint Roller and Handle and Tray
- Ceiling Paint
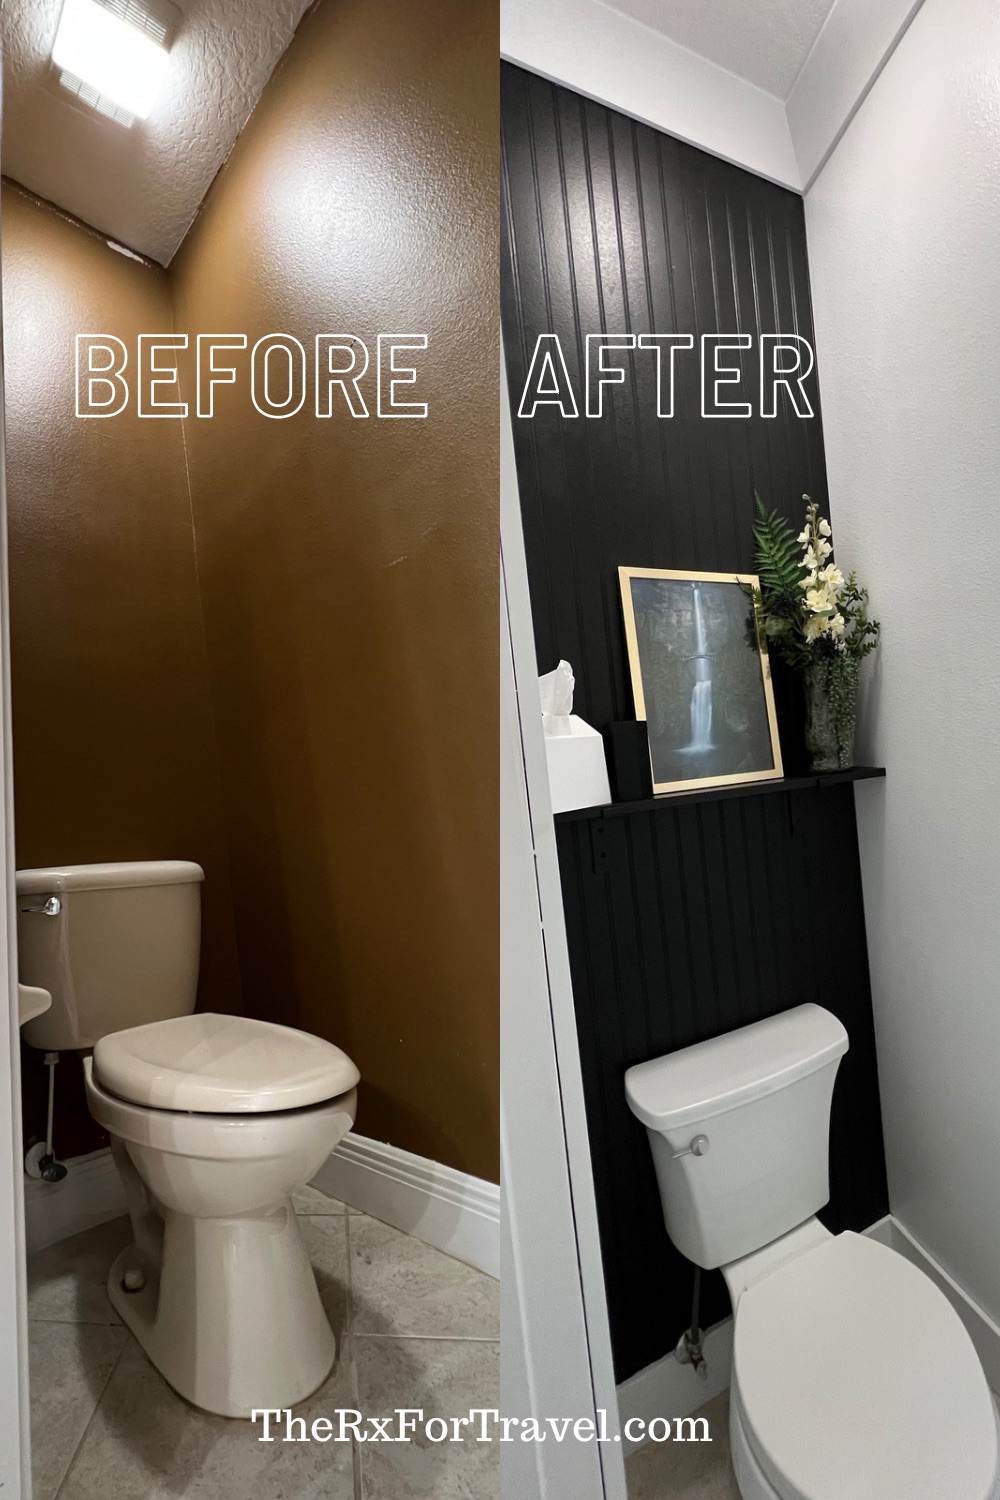
I’m pretty sure that whatever this brown color on the walls is will never be in my aesthetic or vision board for my design choices. Most especially since my personal preference and ideas are for a more modern and industrial design. Although sometimes, industrial designs can be a bit more masculine, and I didn’t want that for the master bathroom. So, I instead focused on a more modern and elegant design. With that, I went for the classic black and white combination. I absolutely loved my Behr Bakery Box (white) paint that we used in the laundry room. So, we used that in the toilet room and that will likely be the white color that we’ll use to paint other areas of the house as well. Isn't it amazing what just a coat of paint can do?

I also still had some leftover black paint from the laundry room renovation. Behr’s Limousine Leather black paint was used to paint the bead board. There are a few ways you can paint bead board. I spray painted my bead board, because I thought it would give the most consistent coverage given the slim grooves in it. But really a roller would have probably been easier and provided the same outcome. A paint brush would’ve been too much work for how large the bead board slab was, and you would have seen the brush stop marks throughout.
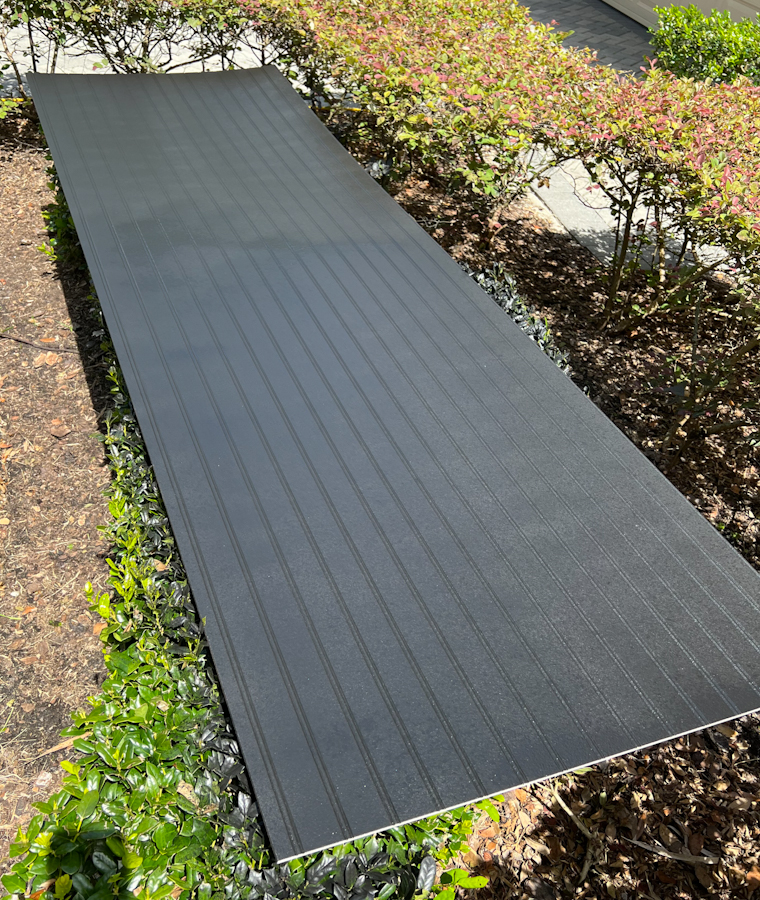
Yes, I did spray paint my shrubs and bushes. LOL
Before we started painting, we noticed some painting mistakes made prior to our moving in. It seems like small things too. But by doing it right the first time, it can also elevate the room to the next level. Here are some places to where small changes would've made the difference:
Light Switch: The switch plates are easily removed, so you are painting behind them instead of on top of them.
Toilet Paper Holder: For the location of this, it was likely difficult to reach because there isn't much of a gap in between the door and the holder. A longer paintbrush could've easily done the trick. There isn't really a reason for why underneath the holder wasn't painted, probably just not paying attention. But after going to the bathroom in there everyday, I'm sure that would've driven me nuts seeing the wrong color.
Baseboards and Trim: While you can definitely paint your baseboards or trim a different color, if you are keeping it white, then be sure you are painting the right parts the right color. The side of the door shouldn't be painted brown, but white since the rest of the door trim is white. The baseboards should have a solid delineation of white along the caulk and shouldn't be painted brown on top of the baseboards.
Behind Toilet: While obviously no one is going behind the toilet to look at this, if you are in a position to paint everywhere like we were, then do a full and complete job. If you are planning on reselling, then these are little things that other people will look at to judge the quality of work done during renovations.
Prep the Area: We pulled off all the baseboards and trim around doors before starting to paint. It makes it so much easier doing these types of things first. Michael also painted all of our ceilings before we moved into this house. In this way, there isn't an issue with getting paint on the furniture. But if you are already moved in, be sure to paint the ceiling first.
Bead Board for a Modern Toilet Room Design
- Unfinished Beadboard
- White Beadboard
- Staple Gun
- Staples
- Compression
- Paint Brush
- Drill Bit
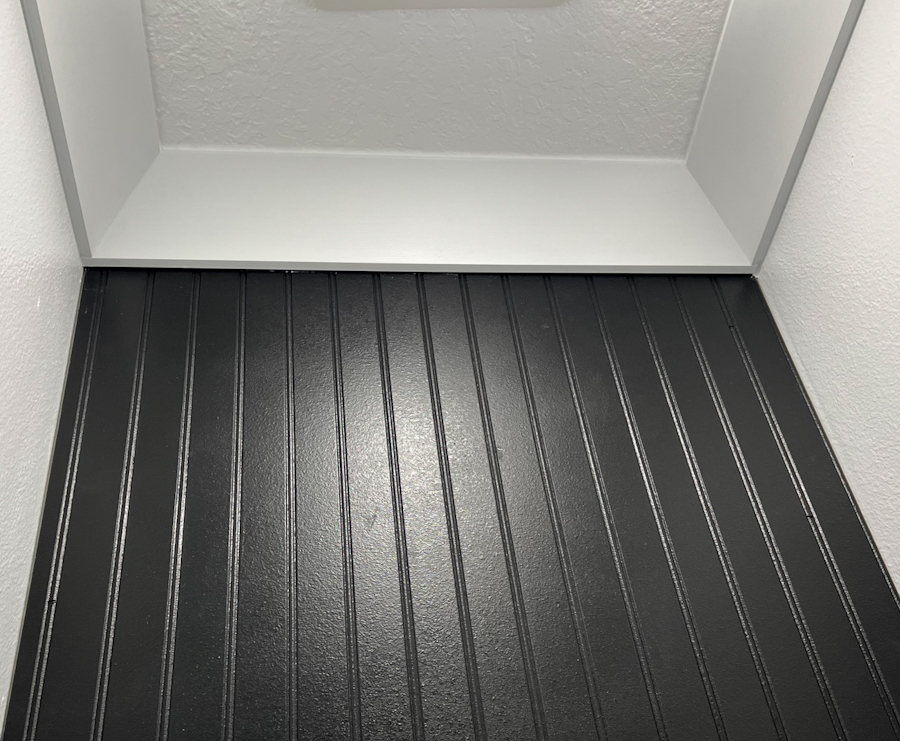
With so much black and white on the walls in different areas of the house, the toilet room needed something to break up the monotony. So, we decided to give the back wall some interest with bead board. You can purchase this as either unfinished wood or pre-painted white. We bought both kinds, but I wound up using the pre-finished white bead board and painted it black since it was already sanded and had a smoother finish.
We painted the entire toilet room first and painted the bead board separately, before we installed it. It is much easier this way so there are less touch ups to do and no need for taping. We needed 2 panels of beadboard to cover our wall. In order to hide the line, we decided to make the horizontal cut be behind the toilet so that it was less noticeable. And it truly is not noticeable at all. The bead board was cut down in width to fit the area so closely that it scraped the wall a bit when we were installing it. Make sure to measure the width of the wall at the ceiling, middle, and bottom, because ours were not the same. If those measurements are different, then you’ll need to cut to the smallest width to ensure a good fit.
The bead board was then secured in place using a pneumatic staple gun. There will be staple holes in the bead board from the staple gun. Luckily with this being painted black it is not very noticeable. You can fill in the staple holes, but this would have required sanding. By doing that though you could possibly flatten the rounded detail of the bead board. I didn’t want to risk it, so I decided to just paint in the staple holes. It was much easier this way and still helped decrease the noticeability of the tiny staple holes.
For the second piece that went at the bottom, we also had to drill a hole for the toilet connector to pass through before stapling to the wall. Measure twice, cut once, as the saying goes.
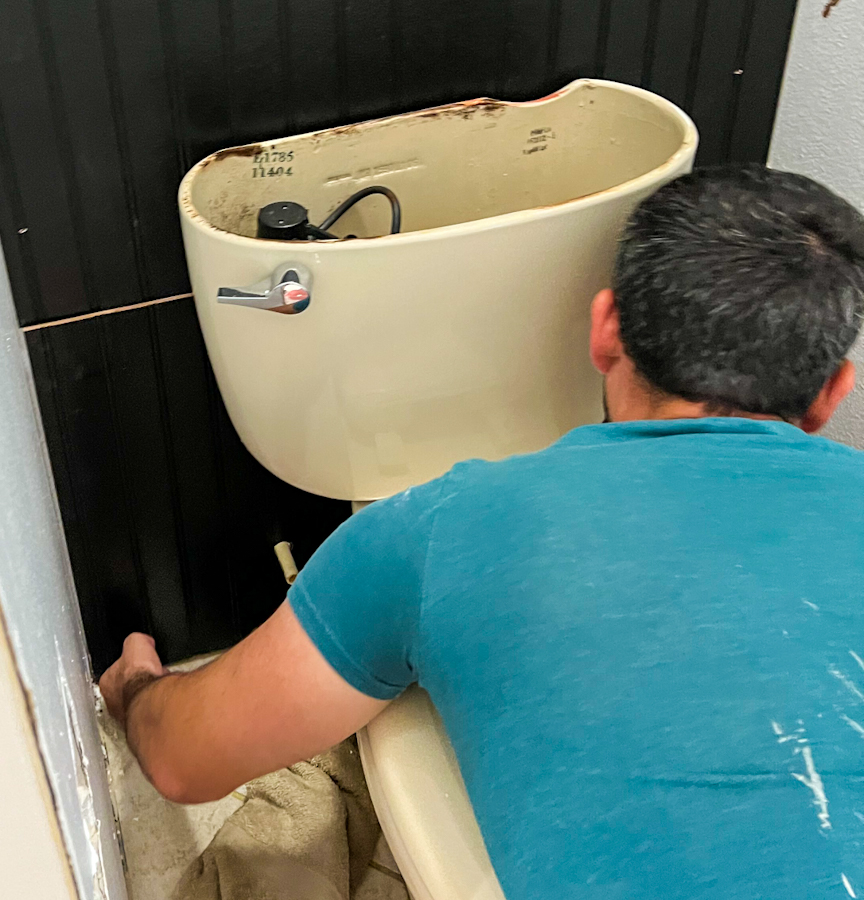
Modern Toilet for a Modern Toilet Room Design – Goodbye, running toilet
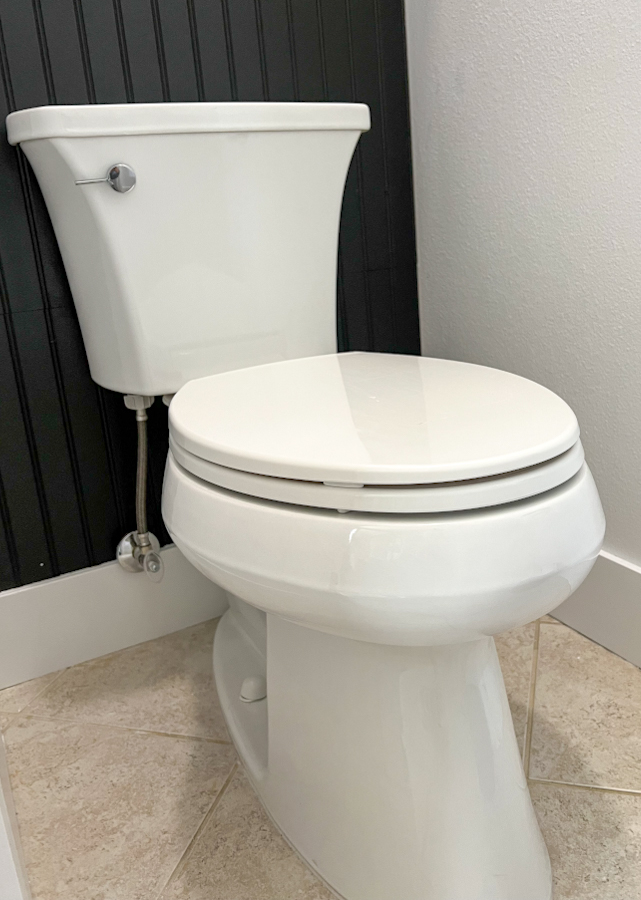
The toilet in our toilet room was beige, banged when you opened and closed the lid, and flushed by itself in the middle of the night. So, my requirements for a new toilet were not very high, just the opposite of what we had. Haha. We went with a Kohler’s toilet. It had a nice sleek handle for flushing and lines that alluded to a more modern design.
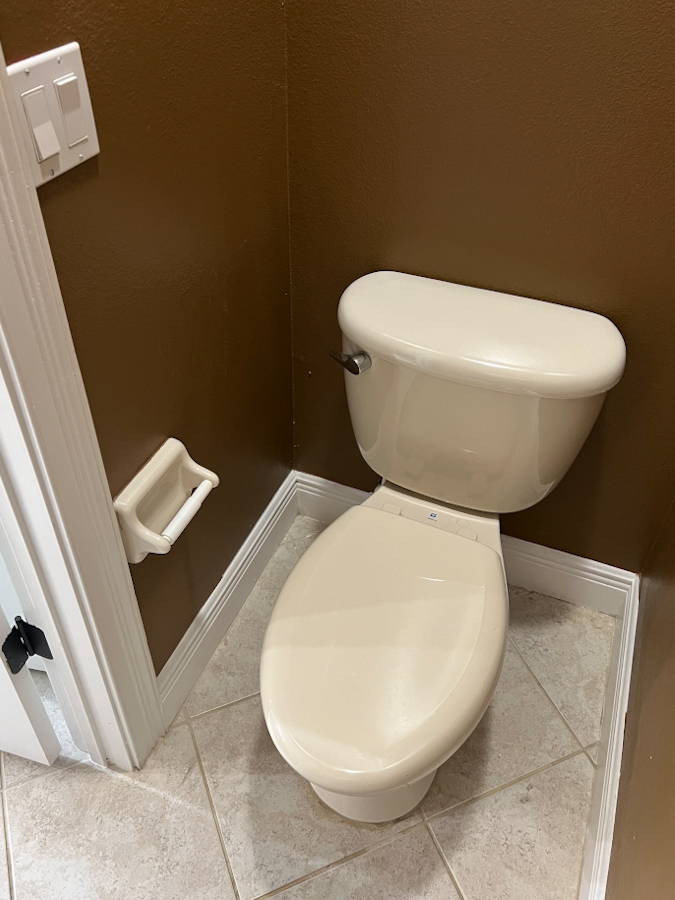
Now comes the dirty work, removing the old toilet. Yuck. In order to decrease the amount of toilet bowl water, you can turn off the water to the toilet via the connector located just under the toilet. We tried to do this and our toilet connector broke. So, then we had to turn off the water to the whole house. Unfortunately when we did this, this also broke. In our case, this small project became a bit more expensive due to all these other projects that snowballed from it. After the water was finally off, we flushed, then had to sponge the rest of the toilet water to dry the bowl out. Gross, believe me I know!
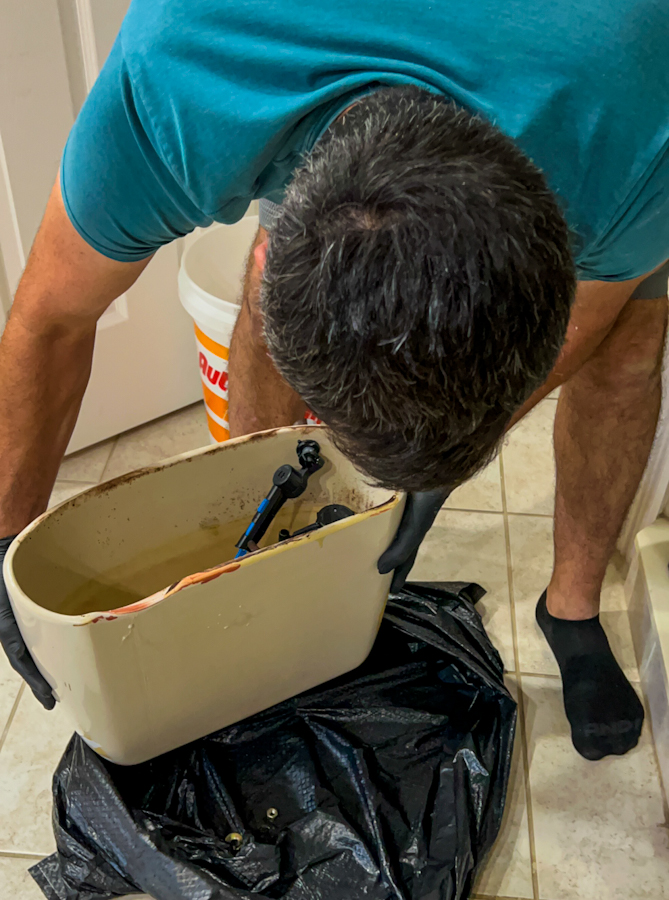
In order to remove the toilet, you'll need to cut the caulk line and pry it off the floor. Be sure to wear gloves and have large plastic bags at the ready in order to dispose of the old toilet. You don't want to be carrying this heavy gross toilet throughout your house to your trash. Or leaving it stinking up the garage waiting for trash day. We also cleaned underneath where the new toilet would go. By scraping all the old caulk and whatever grossness was lingering, we now had a clean area to work with.
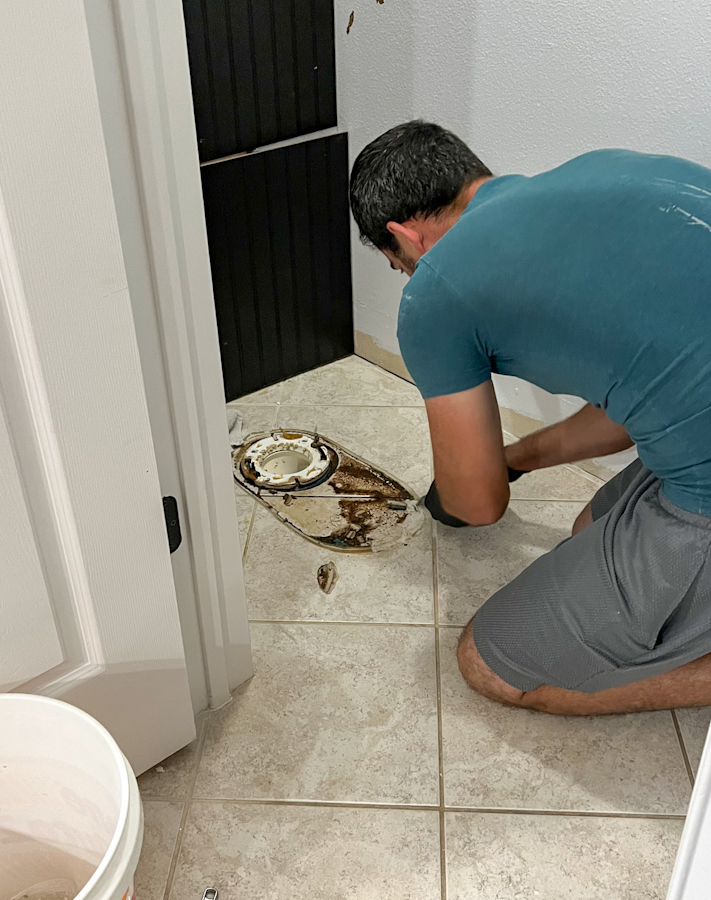
It took about 2 tries to get the toilet down, because it has to line up perfectly with the wax ring to ensure there are no leaks. It takes two people for this, since it's hard to navigate placement while holding a heavy toilet. So, you may want to buy an extra wax ring just in case. You can always return it if you don’t need it, but you don’t want to have to run to the store and buy one if you need another when you are in the middle of a renovation.
Once we got the toilet down on the wax ring, we let it sit. After that we flushed a few times, to make sure there were no leaks. Once we knew we were good to go, then we put the caulk around the bottom of the toilet.
Cove Crown Molding
As a carpenter this is my husband's bread and butter. He does trim carpentry. In turn, I get to pick whatever kind of design I want. While modern designs typically lend itself to be more simple, you’ll see some beautiful ways that we added more flare once we get to the bedrooms and office (which are coming soon).
There are so many different types of crown molding, and you can combine many of the different designs to make something completely your own. We did this in our first house with double crown in the living room, which you can see in our modern industrial home post. In this house, I wanted that more modern design. We decided that the best way to achieve that is with cove crown molding. You can purchase cove crown molding in different sizes, but for the height of our ceilings and our personal design aesthetic we went with the 5-inch size.
Modern Baseboard Trim
We also went for the similar 5-inch size for our modern baseboard trim. The previous baseboards were much smaller in height with rounded grooves in them typical of what you see in the cookie cutter houses being built here in Florida. We also removed the shoe molding, although sometimes this is a necessary evil.
If flooring is being replaced, ALWAYS remove the baseboards!!!
We removed the baseboards by cutting the caulk along the top. After that you'll pry them off, being careful not to rip the sheetrock behind it. Once the baseboards are removed, be sure to follow behind and scrape off any leftover caulk on the wall.
By not doing this, the flooring will only be measured to the baseboard and not the actual wall. In the future, if you ever go to replace anything there will be a gap in the floor. We are seeing this now in our kid’s rooms, because it was not done correctly. The only way to fix that gap is with shoe molding, which is not always aesthetically pretty. We tried to correct it in a more modern way which was by adding smaller height base in front of the larger base. [I’ll go into more detail on that in the next DIY blog post]. You may ask can’t you just skip this? But in order to keep your home temperature controlled and keep bugs from coming in, there should be no gap. Depending on how big the gap is, you may not be able to fill it in with the caulk that is required above and below the baseboard trim either.
Other Small Updates to Increase Functionality
Once the toilet room was painted, the modern toilet installed, and the cove crown molding and modern baseboard trim added, the rest of the changes were small updates. But those small updates helped increase functionality and make it more aesthetically pleasing.
Removing Toilet Paper Holder – Replacing Drywall
- Drywall
- Drywall Tape
- Drywall Joint Compound
- Oscillating Saw
- Keyhole Saw
- Drywall Screws
- Sanding Block
- Orange Peel Spray
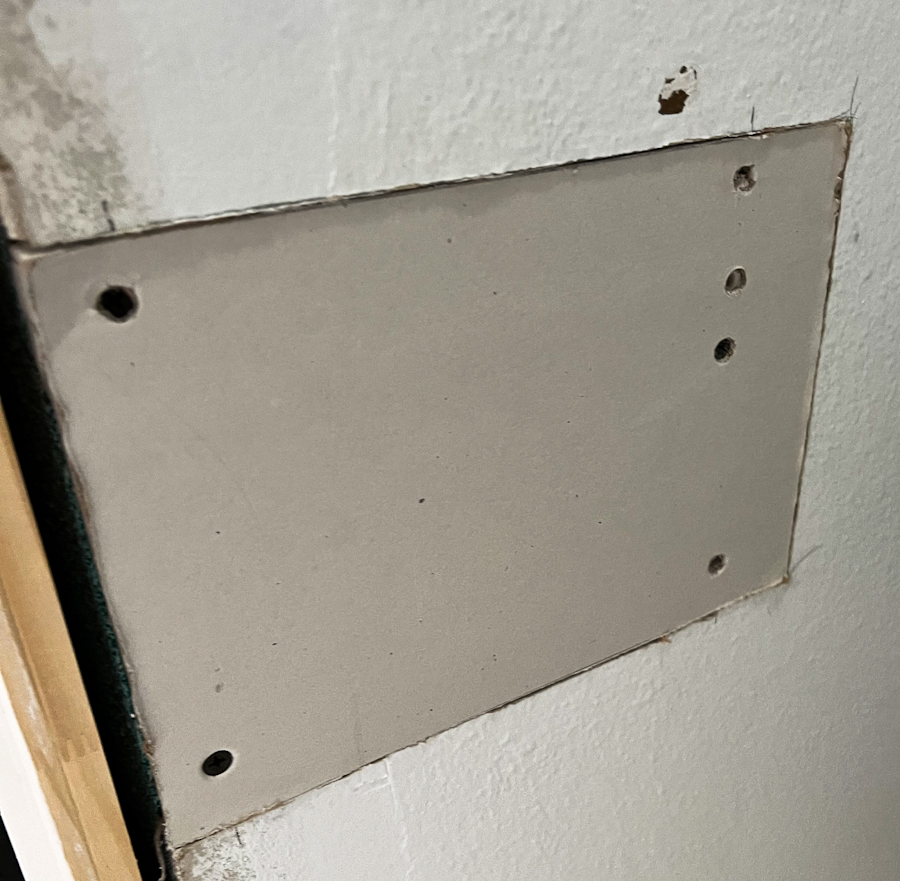
The toilet paper holder was such a small change, but this turned out to be a bit of a project. The type of toilet paper holder that was installed during the home building process is actually just caulked into a hole in the wall. There is no drywall there. Once we decided we didn’t want that toilet paper holder that meant we now had to fix the hole in the wall by replacing drywall.
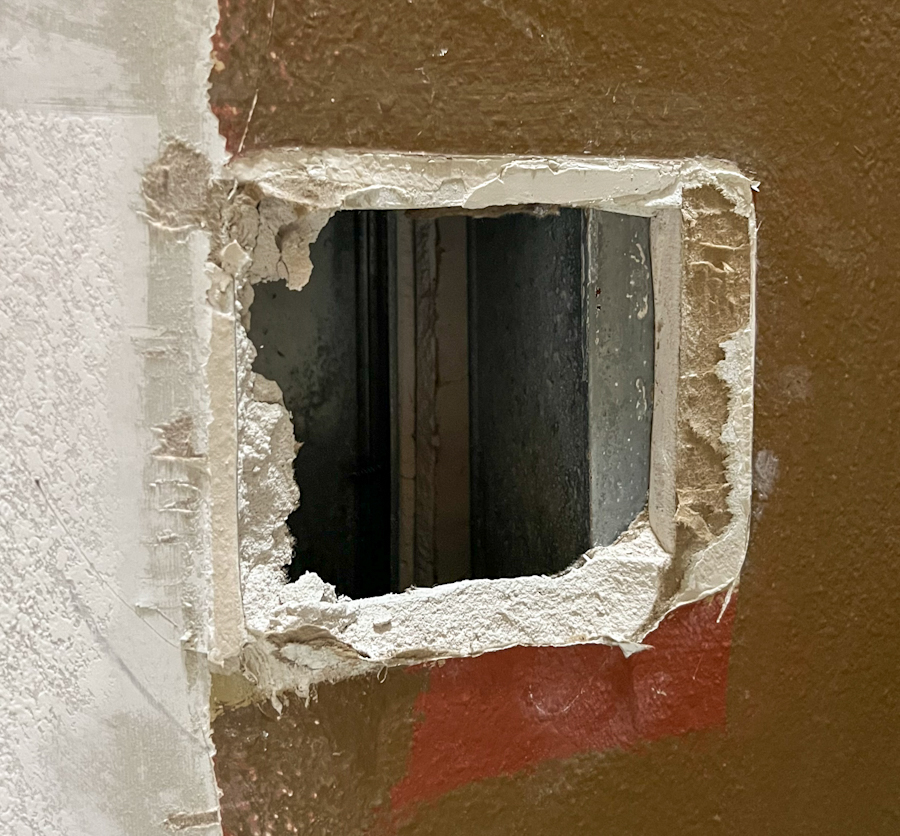
You can have a professional do this for sure or you can DIY it. My husband did it himself.
- First, you’ll need to buy a sheet of drywall.
- Next measure the hole adding a ½ inch or more to the dimensions.
- Using the dimensions you just measured, cut out your piece of drywall. You can use an oscillating saw (which is what Michael used) or you can use a keyhole saw, knife, or cutter.
- Placing your cut piece of drywall over the hole, trace the perimeter onto the wall around the piece
- Using your saw or knife, cut into the wall along the traced lines
- With scraps of wood, insert them into the hole and placing them behind the wall in the open hole area, you will screw them into the wall both above and below the cut opening. By doing this, you are giving something to hold the new drywall piece in place.
- Now insert the cut drywall piece into place and screw it into the scrap wood pieces. You will need drywall screws for this, and the length depends on the thickness of the drywall you use.
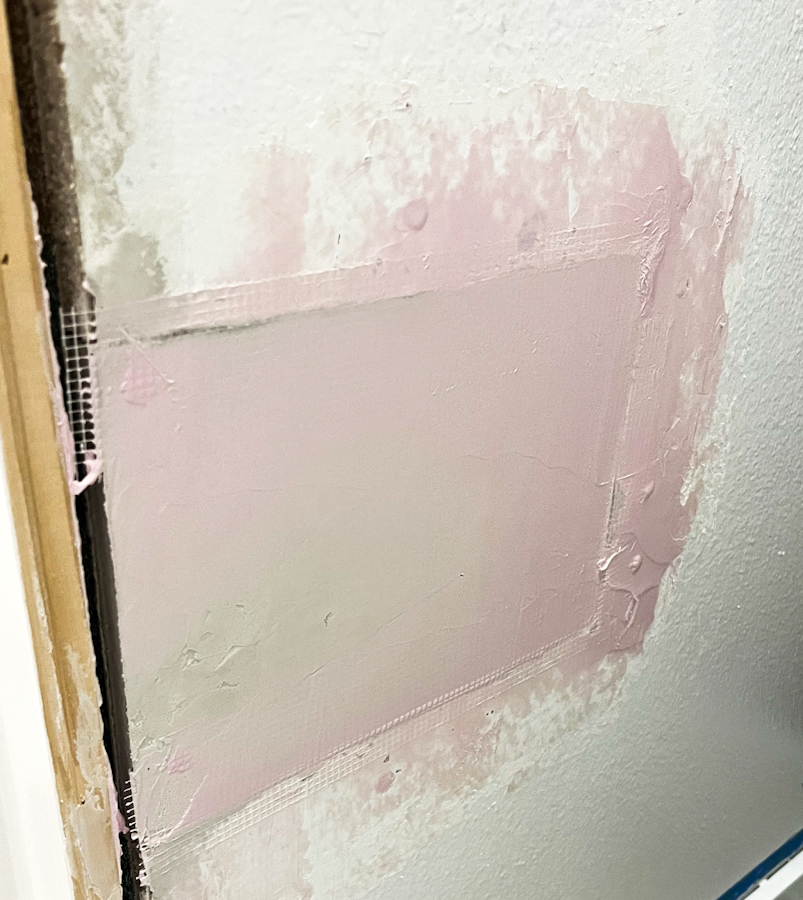
- Next using drywall tape cover the seams of the drywall piece
- With joint compound, go over mesh area, fill in any gaps, as well as fill in the screw holes
- Sand and repeat as needed until you are satisfied with the coverage and smoothness of the area
- If you have flat walls, then you are done. If you live in Florida, chances are you have orange peel on your walls. So, you’ll need to buy orange peel spray or texture spray depending on your walls. Spray to blend in the new drywall area.
- To finish it off, paint
Replacing Toilet Paper Holder
- Toilet Paper Holder
- Wall Anchors
- Screws
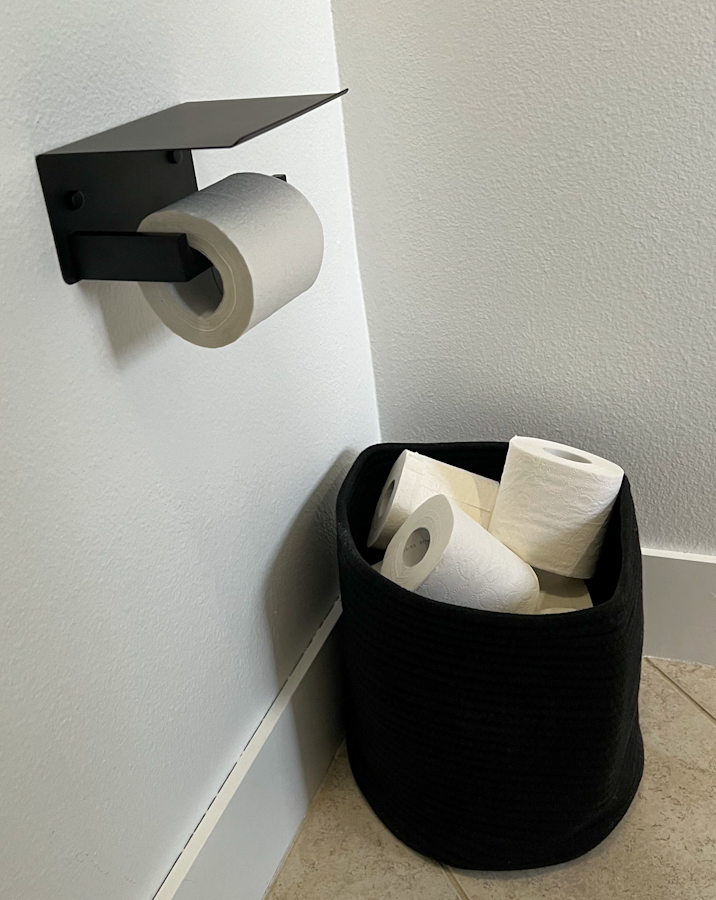
Once we went through all that trouble of replacing drywall, we decided that the old location of the toilet paper holder wasn’t conducive. So, we put the new toilet paper holder on the other wall more in front of our new modern toilet. We used wall anchors and screws to attach the new toilet paper holder in place.
Toilet Paper Basket
Last, but not least to finish off this modern toilet room design was my toilet paper basket. I feel like I had so many extra rolls sitting in the toilet room stacked on the floor that it just looked messy. Another cute online find, this basket came as a 2-pack with a smaller basket included. It does come pretty squished, so you’ll have to fill it with something heavy to stretch it out. Now, all my extra toilet paper rolls are nearby, but don’t make the toilet room look a mess.
Installing an Over the Toilet Shelf
Similar to what we did in the laundry room, we screwed 2 shelf brackets into the wall. We purchased precut wood pieces in the correct width and just cut them down to length to fit our toilet room. I painted mine Behr’s Limousine Leather black to blend into the bead board wall. Shout out to all my shorties! I wanted to increase functionality with the over the toilet shelf, but I wouldn’t have if I couldn’t reach anything. So, I had to put the shelf high enough to not be in the way of the toilet, but low enough to reach everything I placed on the shelf.
Decorating an Over the Toilet Shelf
Plants or Flower Arrangement
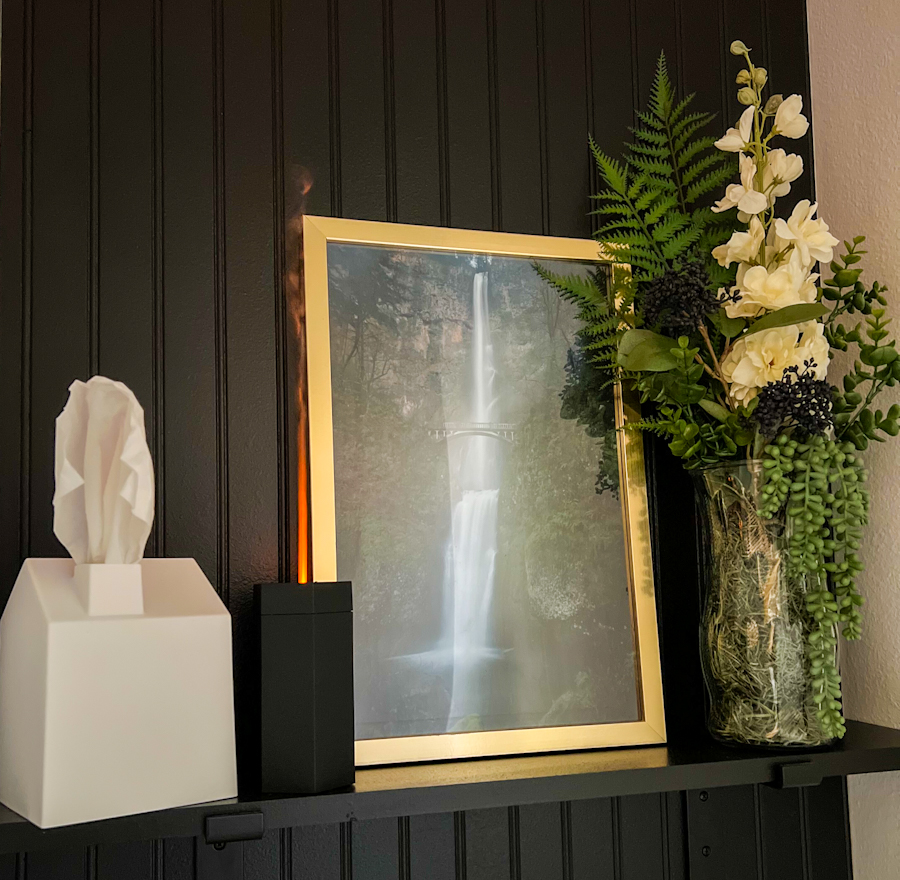
For décor, one of the first things I wanted to add was live plants. I mean I see all these posts about the health benefits for them like cleansing the air. The humidity of the bathroom would be a great location for some of the species. But I do NOT have a green thumb! Wish I did, but I don’t. After a while, Michael said, “are you just going to be buying plants then throwing them away?” Unfortunately, in this case he is right. Either I didn’t water them enough, or they would start to get these weird flies swarming. So, I decided to go the faux bouquet route and put one together myself. I picked out all the pieces from Hobby Lobby with colors that I thought would blend well with the room. Here are links to a few of the different flowers [fern, eucalyptus, hanging bean, berry branch, filler] I chose or something close.
Not sure how your toilet room is set up, but in ours there is no electrical outlet. That presents a problem, since let’s face it if any room in the house needs a diffuser, it’s got to be the bathroom. So, I had to find a way to incorporate that in. I found this cool diffuser online that’s relatively small (doesn’t hold a ton of water), but its battery operated. It comes with a USB port charging cord to recharge, so you aren’t constantly changing batteries. That’s also a no-no for me. It also has a cool feature of having a tiny colored light at the top where the air comes out, so that it looks like a flickering candle. Perfect for a relaxing toilet room feel.
Any paper product these days can be pretty pricey. So, you have to just go for whatever tissues are reasonably priced. Sometimes that means tissue boxes with all sorts of crazy colors and designs on them. In that case, to keep your toilet room design consistent, you need a tissue box. Another cool online find, this tissue box makes the tissues look like smoke coming from the house chimney. It’s just the cutest thing.
Picture
I wanted the toilet room to have a relaxing feel. So, when it came to pictures, I didn’t want people in the photos and I wanted a location that would have that relaxing feel. After having done so much traveling, there are tons of places I could’ve chosen. But I stayed away from the beach photos, because I didn’t want to add that type of blue in. In the end, I decided to go with Multnomah Falls in Oregon. My Oregon Coast Road Trip blog just posted, and I have another one coming soon with day trips from Portland which includes my stop at Multnomah Falls.
Some of my photos from my travels aren’t that good, when I was using my phone or old school digital camera. I decided to go with a professional photo. Unsplash app or website has amazing free photos with so many different locations to choose from. I sent mine to a local print shop with the exact dimensions of my frame which I happened to find on clearance at Hobby Lobby. And with that my over the toilet shelf was complete.
Future Renovations
As with the laundry room, we will eventually be redoing the flooring in the future when the rest of the master bathroom gets renovated. I also would've loved to add a chandelier to the bathroom. In order to do this, it would've been too big a project given we have a fan and light situation. But for now, these changes made for a beautiful new toilet room. If there are any links I forgot or questions you have about our reno, please drop it in the comments below. Thank you for following along.
Disclaimer: There are some links in this article that are affiliate links, which means that if you purchase through them, we receive a small commission. This is never an extra cost to you. Thanks for your support.
